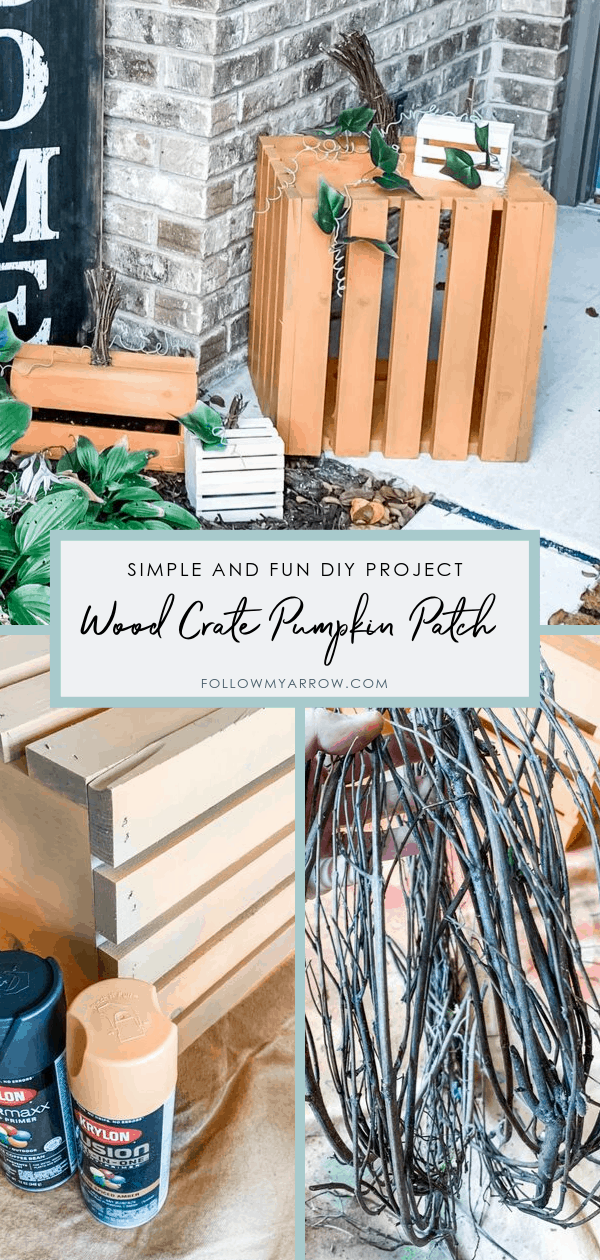
DIY Wood Crate Pumpkin Patch Outdoor Decor
How about a little fall DIY fun!? I hate spooky, scary or creepy anything so all of my fall and Halloween decor is on the cute side ? This adorable DIY Wood Crate Pumpkin Patch project is simple and fun but most importantly, won’t break the bank! Plus, the kids can help, it’s nearly impossible to mess up! They me clarify that, the project is nearly impossible to mess up, not the actual mess that could be caused by the project? What fun would DIY be without a little mess though!?
What you'll need:
- Unfinished wood crates – You can build your own or make it a bit easier and purchase them. Here are the crates I used. Grab whatever shape or size strikes your fancy!
- Spray Paint – Choose a variety of pumpkin colors, both darks, and lights to get the natural variation you see on a real pumpkin. Here are the paints I used.
- Twigs/branches – I used an old wreath for this part. You can purchase a these or go on a hunt outdoors to collect what you’ll need.
- Floral wire – I prefer the 18 gauge cloth stem wire for the vines but you’ll also need some darker/brown to tie the stems.
- Leaves – You’ll want to find some that look similar to an actual pumpkin such as theses.
- Hot Glue Gun – I prefer a dual temp option.

Make it easy on yourself.
Step 1:
Choose your crates.
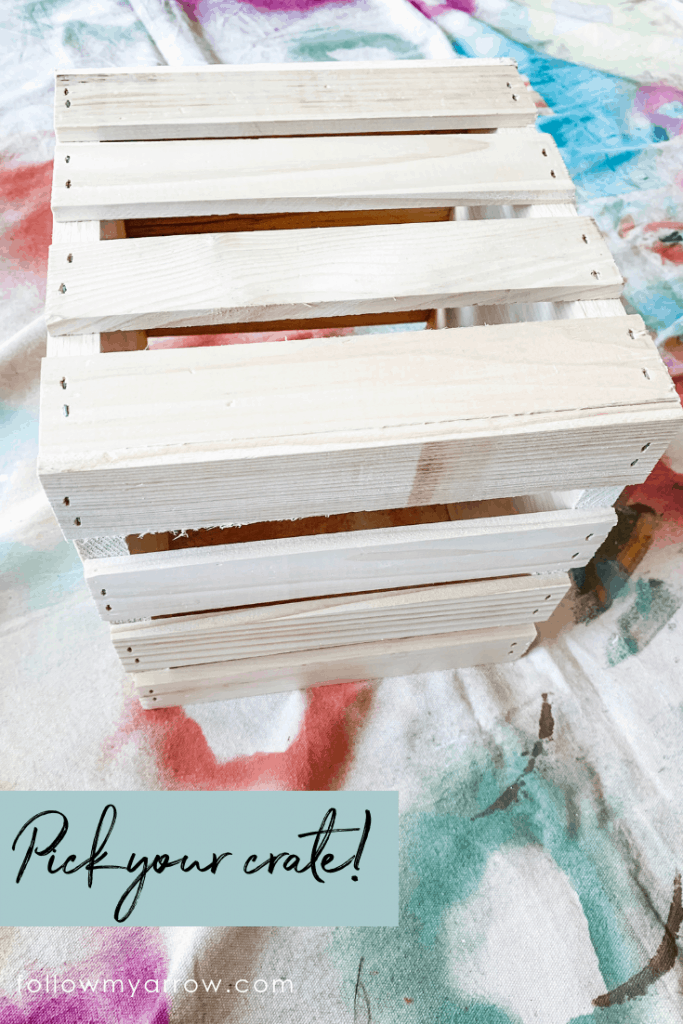
Choose your crates. I like to get them in a variety of shapes and sizes. You can get creative by gluing two together as well but don’t do this until after you have completed step 4.
Step 2:
Choose your colors!
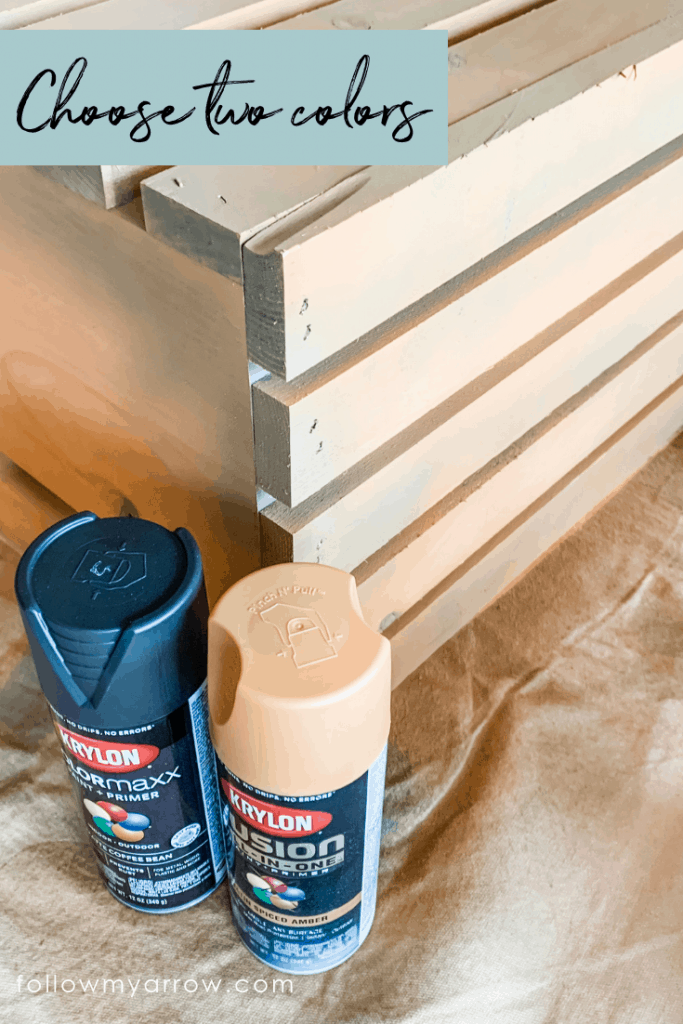
Choose your colors! You’ll want a dark brown or gray and your pumpkin color of orange, yellow, cream, teal, etc. Your goal here is to choose complimenting colors. So, the dark color will be used as a base to highlight the edges and ridges. This will give a bit more color depth.
Step 3:
Time to paint!
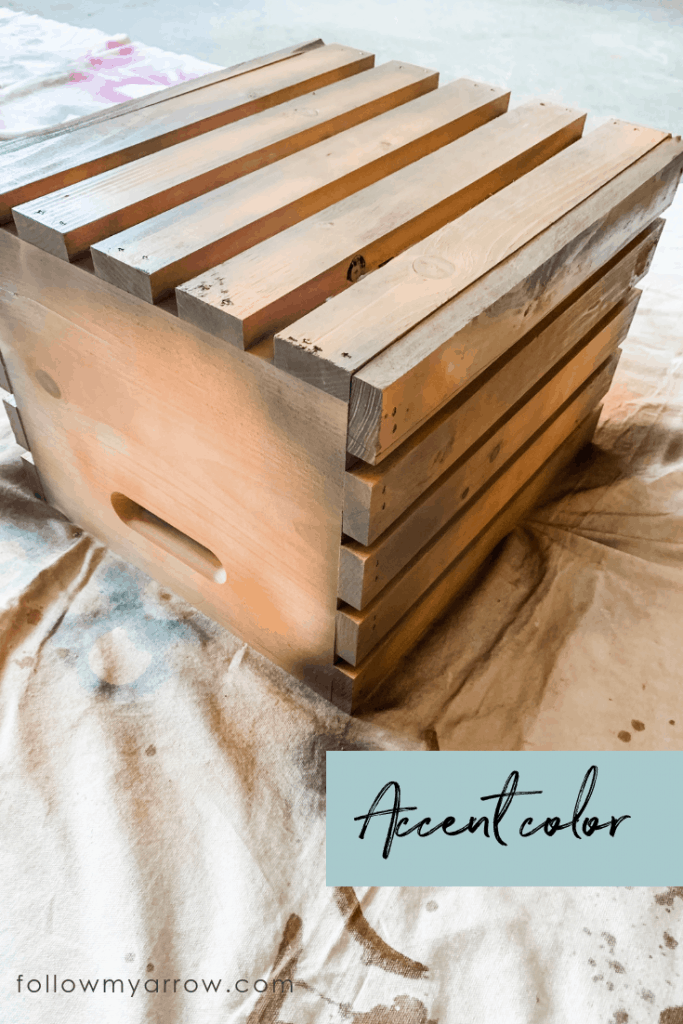
Time to paint! Cover your area and get to work. You’ll want to start with the darker color you have chosen and use it sparingly on the edges and corners of the crate. One coat is all that is needed so it will be quick and easy, you can’t mess it up! Let it dry 10 minutes or so before moving on to the next color to prevent any drips.
Apply the lighter pumpkin color next. You’ll do this all over the crate blending it with the darker first coat. Don’t worry if you don’t get good coverage right away. You can do multiple coats, just be sure to let each dry between to avoid drips and runs.
Expect to need three coats of this lighter color, possibly four depending on how heavy the dark base was applied.
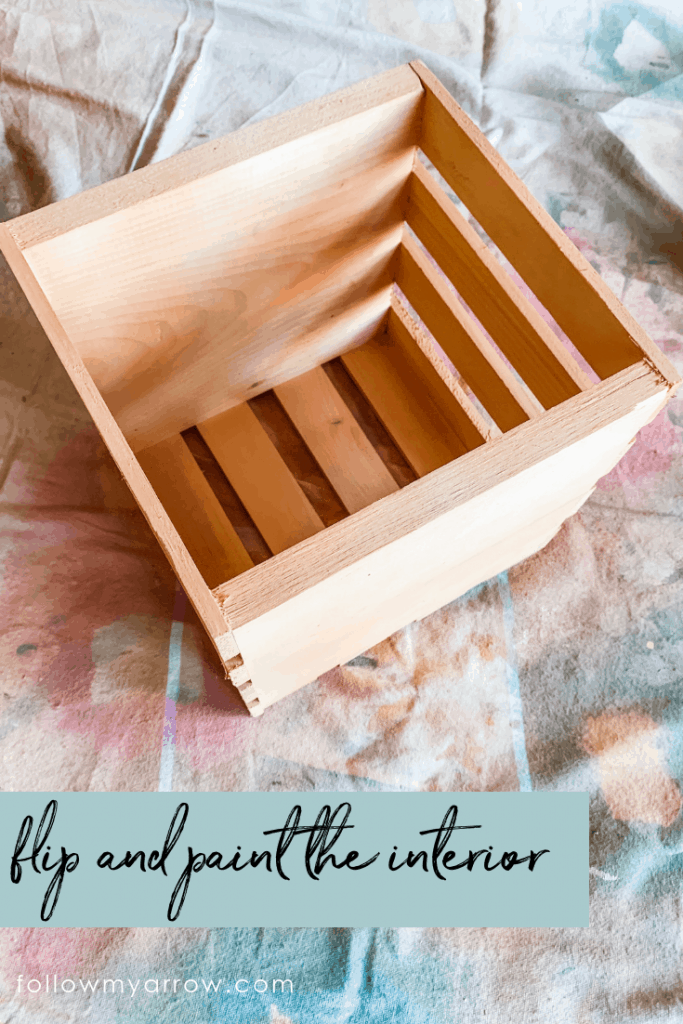
After the outer sides of the crate have dried completely, flip it over and spray the inside. Don’t worry about doing the two color method, one color will do.
Step 4:
Give the pumpkin a stem!
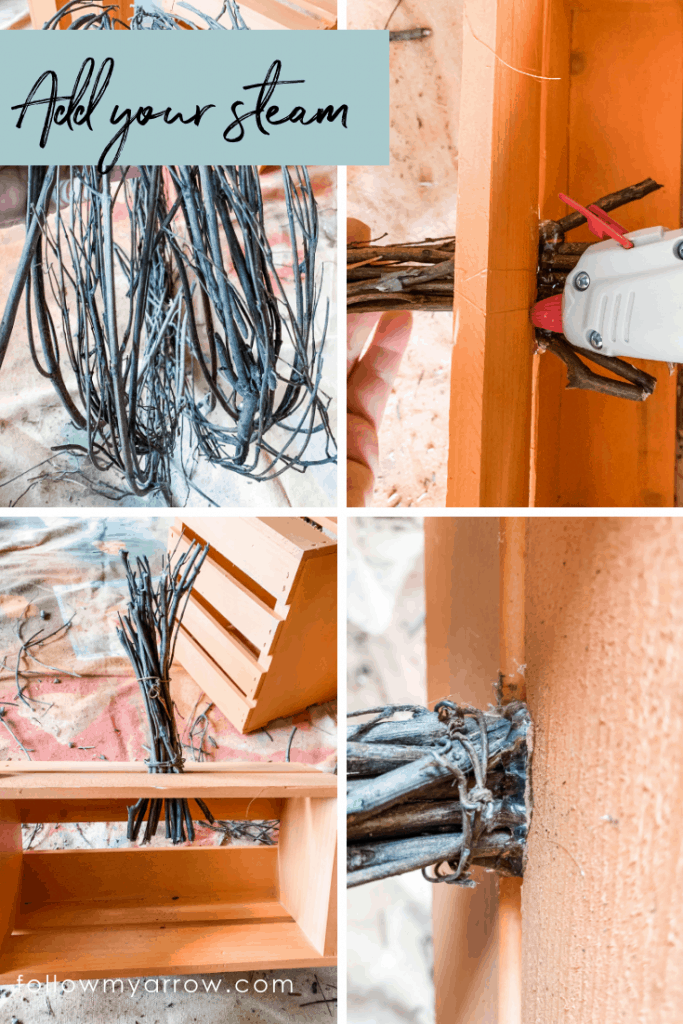
Give the pumpkin a stem!Once fully dry, it’s time to gGive the pumpkin a stem! I lucked out and had an old twig wreath that needed a new life. You can head outdoors to collect the sticks and small branches you need if you don’t have anything to re-purpose or head to Amazon or your local craft store and purchase what you need.
Whatever you are using, you’ll need to gather a small bunch (just enough to fit through your crate slat) and tie it with wire. If the stick you are using are to long you can cut them down just be sure to leave about one inch to poke through the crate and attach. Slide the twig bundle through the slat, you may need to be a bit aggressive during this part to get them all in and position to your liking. I usually do a little extra trimming after I have them positioned between the slates but before gluing.
After you have the stem looking how you’d like, it’s time to glue. You’ll want to start inside the crate and use a generous amount. Don’t worry, you won’t see it but you want this to hold it’s position especially if you plan on displaying out doors. Be sure to glue all sides of the stem and any gaps between branches. Continue to the top if the crate and do the same being a bit more careful to avoid getting glue on the top of the crate.
Step 5:
Add some leaves.
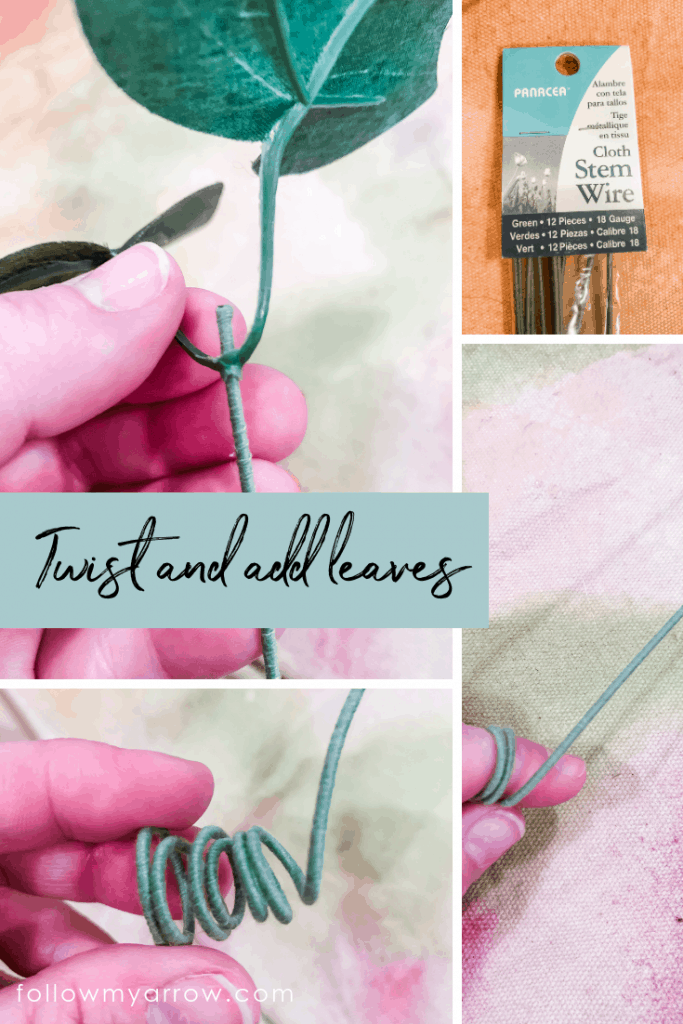
Add some leaves. After has been attached, you’ll want to add some leaves. The leaves can be done by using the artificial ivy purchased from Amazon or your local craft store. You want to choose one that has large leaves to mimic the look a pumpkin would have. The easiest way to apply these is directly to the cloth stem wire by using the stem hole already made on the greenery. You can slide this on to the wire and secure with a small bead of glue. Once you have the leaves placed, wrap the wire ends around your finger or pencil to curl. You could also use a wood dowel or anything round to give you different curl sizes. Play around by keeping them tight or stretching them giving a true pumpkin patch look.
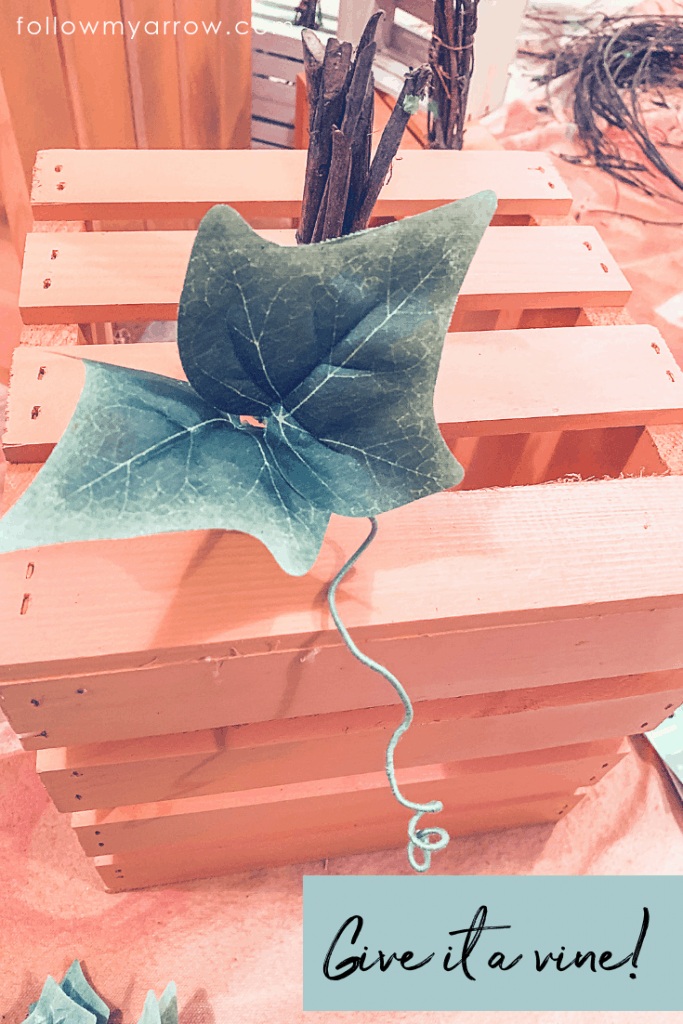
Now you’re ready to attach! Grab your hot glue gun and glue on each wire vine at the base of the stem. I like to do two on each of my pumpkins but you can do whatever you’d like. You will again what to be generous with the glue so that it holds up to the elements wherever you have your decor.
Finished Product!

That’s all there is to it. Now you can group you pumpkin crates together to create your very own DIY Wood Crate Pumpkin patch! My favorite is to set them outside along our entry way. They’d be super cute around the fireplace as well though! Whatever you fancy, theses will bring some fall to your home.
Love it? Share it!