Project 2 in “Tin Can”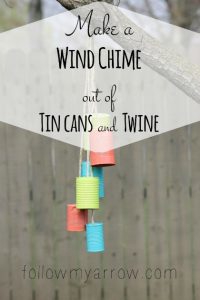 series
I love reusing and repurposing things around the home. I have a collection of tin cans, glass bottles, and many other random items I think I might find a use for someday. I’ve gotten to the point of knowing which can brands have a white coated inside, which I’m sure to buy more of when I know a project is coming up or just feel like my stock is low;) Today I am sharing with you project two in my “Tin Can” series!
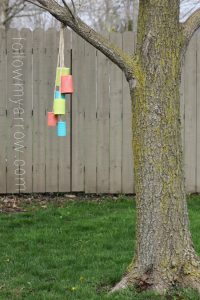
This is another fun and easy “Tin Can” project that is appropriate for any age. I recently created this with my 7 year and 2 year old daughters for a fun addition to our camper. It took about two days to complete because of the dry times and of course little side tracts throughout the process but was well worth it! It clangs ever so slightly in the breeze and gives a wonderful pop of color to our awning area. We plan on making a few other sets for around our camping/fire pit area at “Our Happy Place” AKA our property!
This post contains affiliate links. For more information please see my disclosures here.
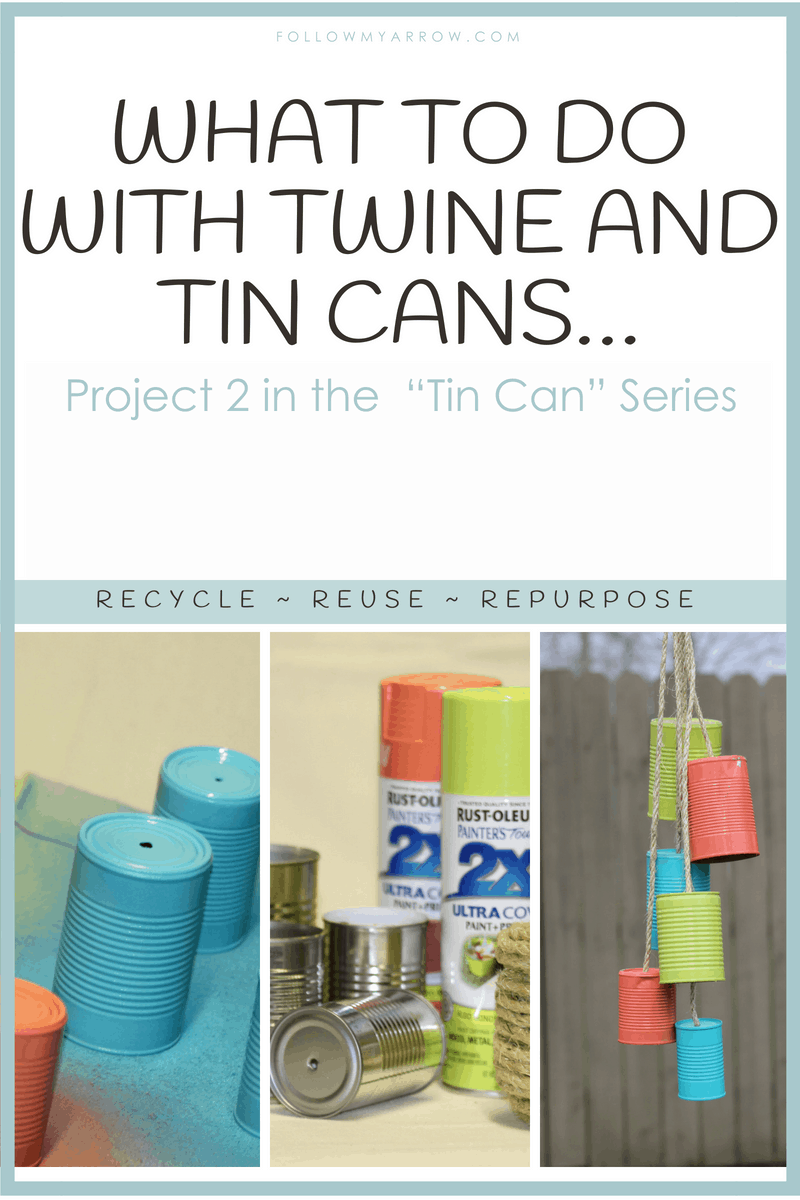
Tin Can Wind Chime
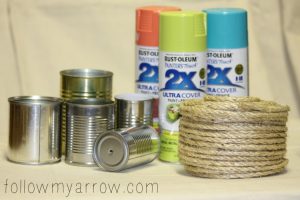
What you will need:
- 6 Tin Cans (various sizes) ~ I used 4 different shaped/sized cans and grouped them so that the larger size was at
 the top and cascaded down to the smaller but you can get creative and play with any sizes you want!
 - Rust-Oleum Ultra Cover 2X Gloss Spray Paints
~ I used 3 coordinating colors
- Clear Rust-Oleum Multi Purpose Spray Paint
~ I used a matte finish because I like the more rustic look
- Natural Twine
~ Something with a little weight, I used 1/4 inch
- Cordless drill with drill bit slightly larger than your twine
- Stanley Hot Melt Glue Gun
Step 1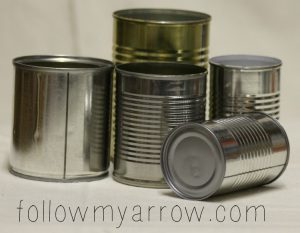
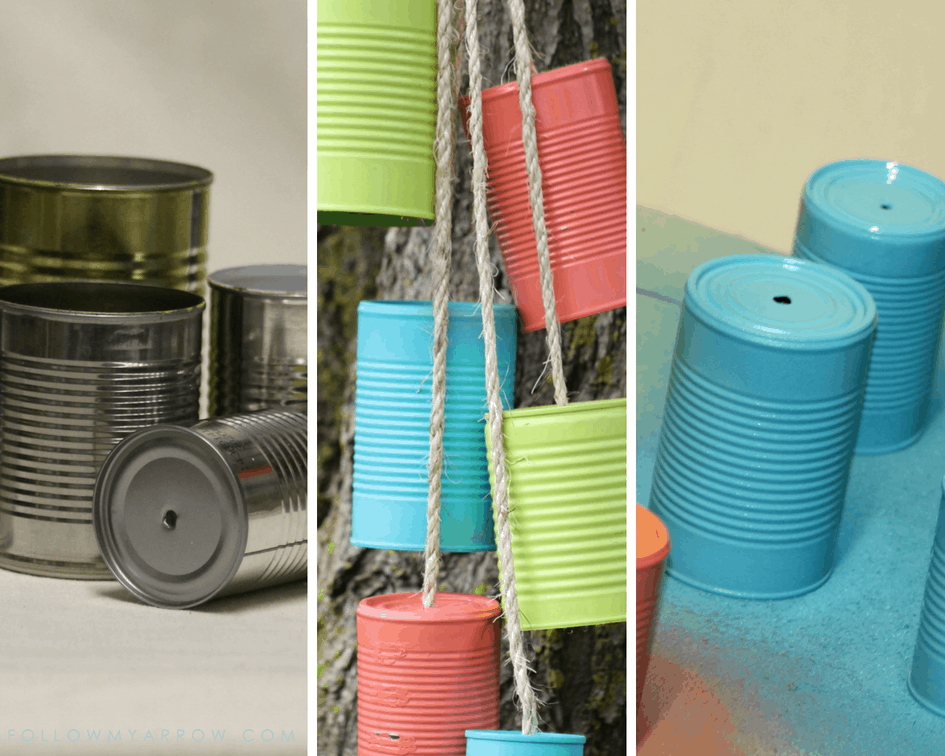
Thoroughly clean cans. This includes removing all the labels and glue residue. Anything left on the can will be visible when painted so make sure to pay close attention to the groves and lid area, they seem to hold the most tacky glue goop. TIP: Peel the labels off and let the cans soak in warm soapy water for 30 minutes before scraping any goop off. If you do this when they are still warm I have found that it comes off quite a bit easier. For those really tough areas try a small amount of paint thinner. Be sure to cans are completely dry before moving on to the next step.
Step 2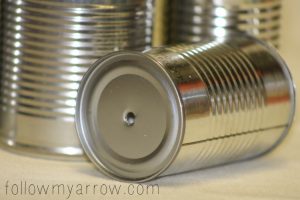
Using a cordless drill with a slightly bigger drill bit than your chosen twine, drill a hole in the center for each can top. Once done, brush off any shavings and make sure all edges are smooth. If needed, use very fine sandpaper to smooth any rough areas. TIP: Check the open end of the can for rough/sharpness and sand if necessary. Be sure all dust and shavings have been removed before moving on to the next step.
Step 3
Time to paint! Place all the cans top down on a covered area. I used a canvas painters cloth but old newspapers or even cardboard will work as well. You will need to apply light coats until desired coverage is achieved. TIP: Read the label on the spray paint for proper dry time in between coats. Mine was 20 minutes but all brands vary. Once outside is completely dry, flip over and do the same to the inside of can. TIP: I also used this new angle to make sure I didn’t miss any areas on the outside and touched up as needed:) When all the cans are painted and dry, its time to assemble!
Step 4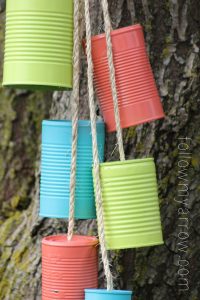
You are going to want to cut 6 pieces of twine allowing for room to attach to your can and also knot the group together. I cut each piece 36 inches long and had just enough on my longest piece (the bottom can) and a lot of extra on my shortest piece (top can) though I wanted to be sure I had enough. TIP: If you would like to be more precise, measure approximately the length you would like on each and add 8 inches, this should help you avoid as much waste as I had (I always save my scrapes for other projects thought so it’s not really waste to me:) Attach twine to each can by stringing it through the hole and knotting the twine on the inside of the can. Trim off any excess and pull the knot to the top of the can.
Step 5
Now that all the cans have been strung, group the cans so that they are cascading in an order that you like. Each can should touch at least one other can in order to have the subtle clanging when swaying in the wind. Hold tightly and knot the group together at the top allowing a few inches between the top can and knot so that it can easily be hung from a tree or hook. Trim off access so that you have a nice even but short loop knot and apply a decent amount of hot glue to ensure the knot does not come loose.


2 comments
What a fun project! I am going to build one of these for the patio we are building. Thanks!!
It really was a fun project! My girls both enjoyed it very much!