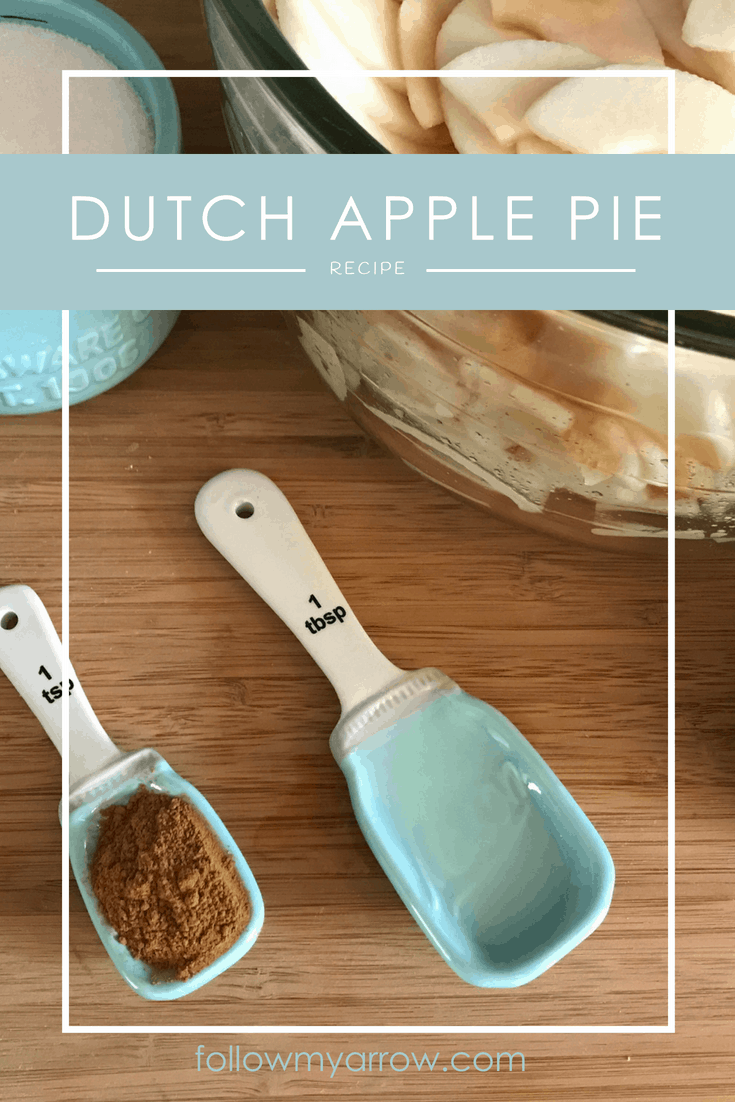
 Mouthwatering Dutch Apple Pie
Who doesn’t LOVE an apple pie!?!? Well actually me, LOL! I love to bake them, but I’m not a fan of fruit if you can believe that.
The best way I can describe this Dutch Apple Pie is a cross between a traditional apple pie and apple crisp. So if you can’t decide on apple pie or apple crisp, this is the recipe for you!
Ingredients
Filling
- 3 tablespoons Flour
- 1 cup Sugar
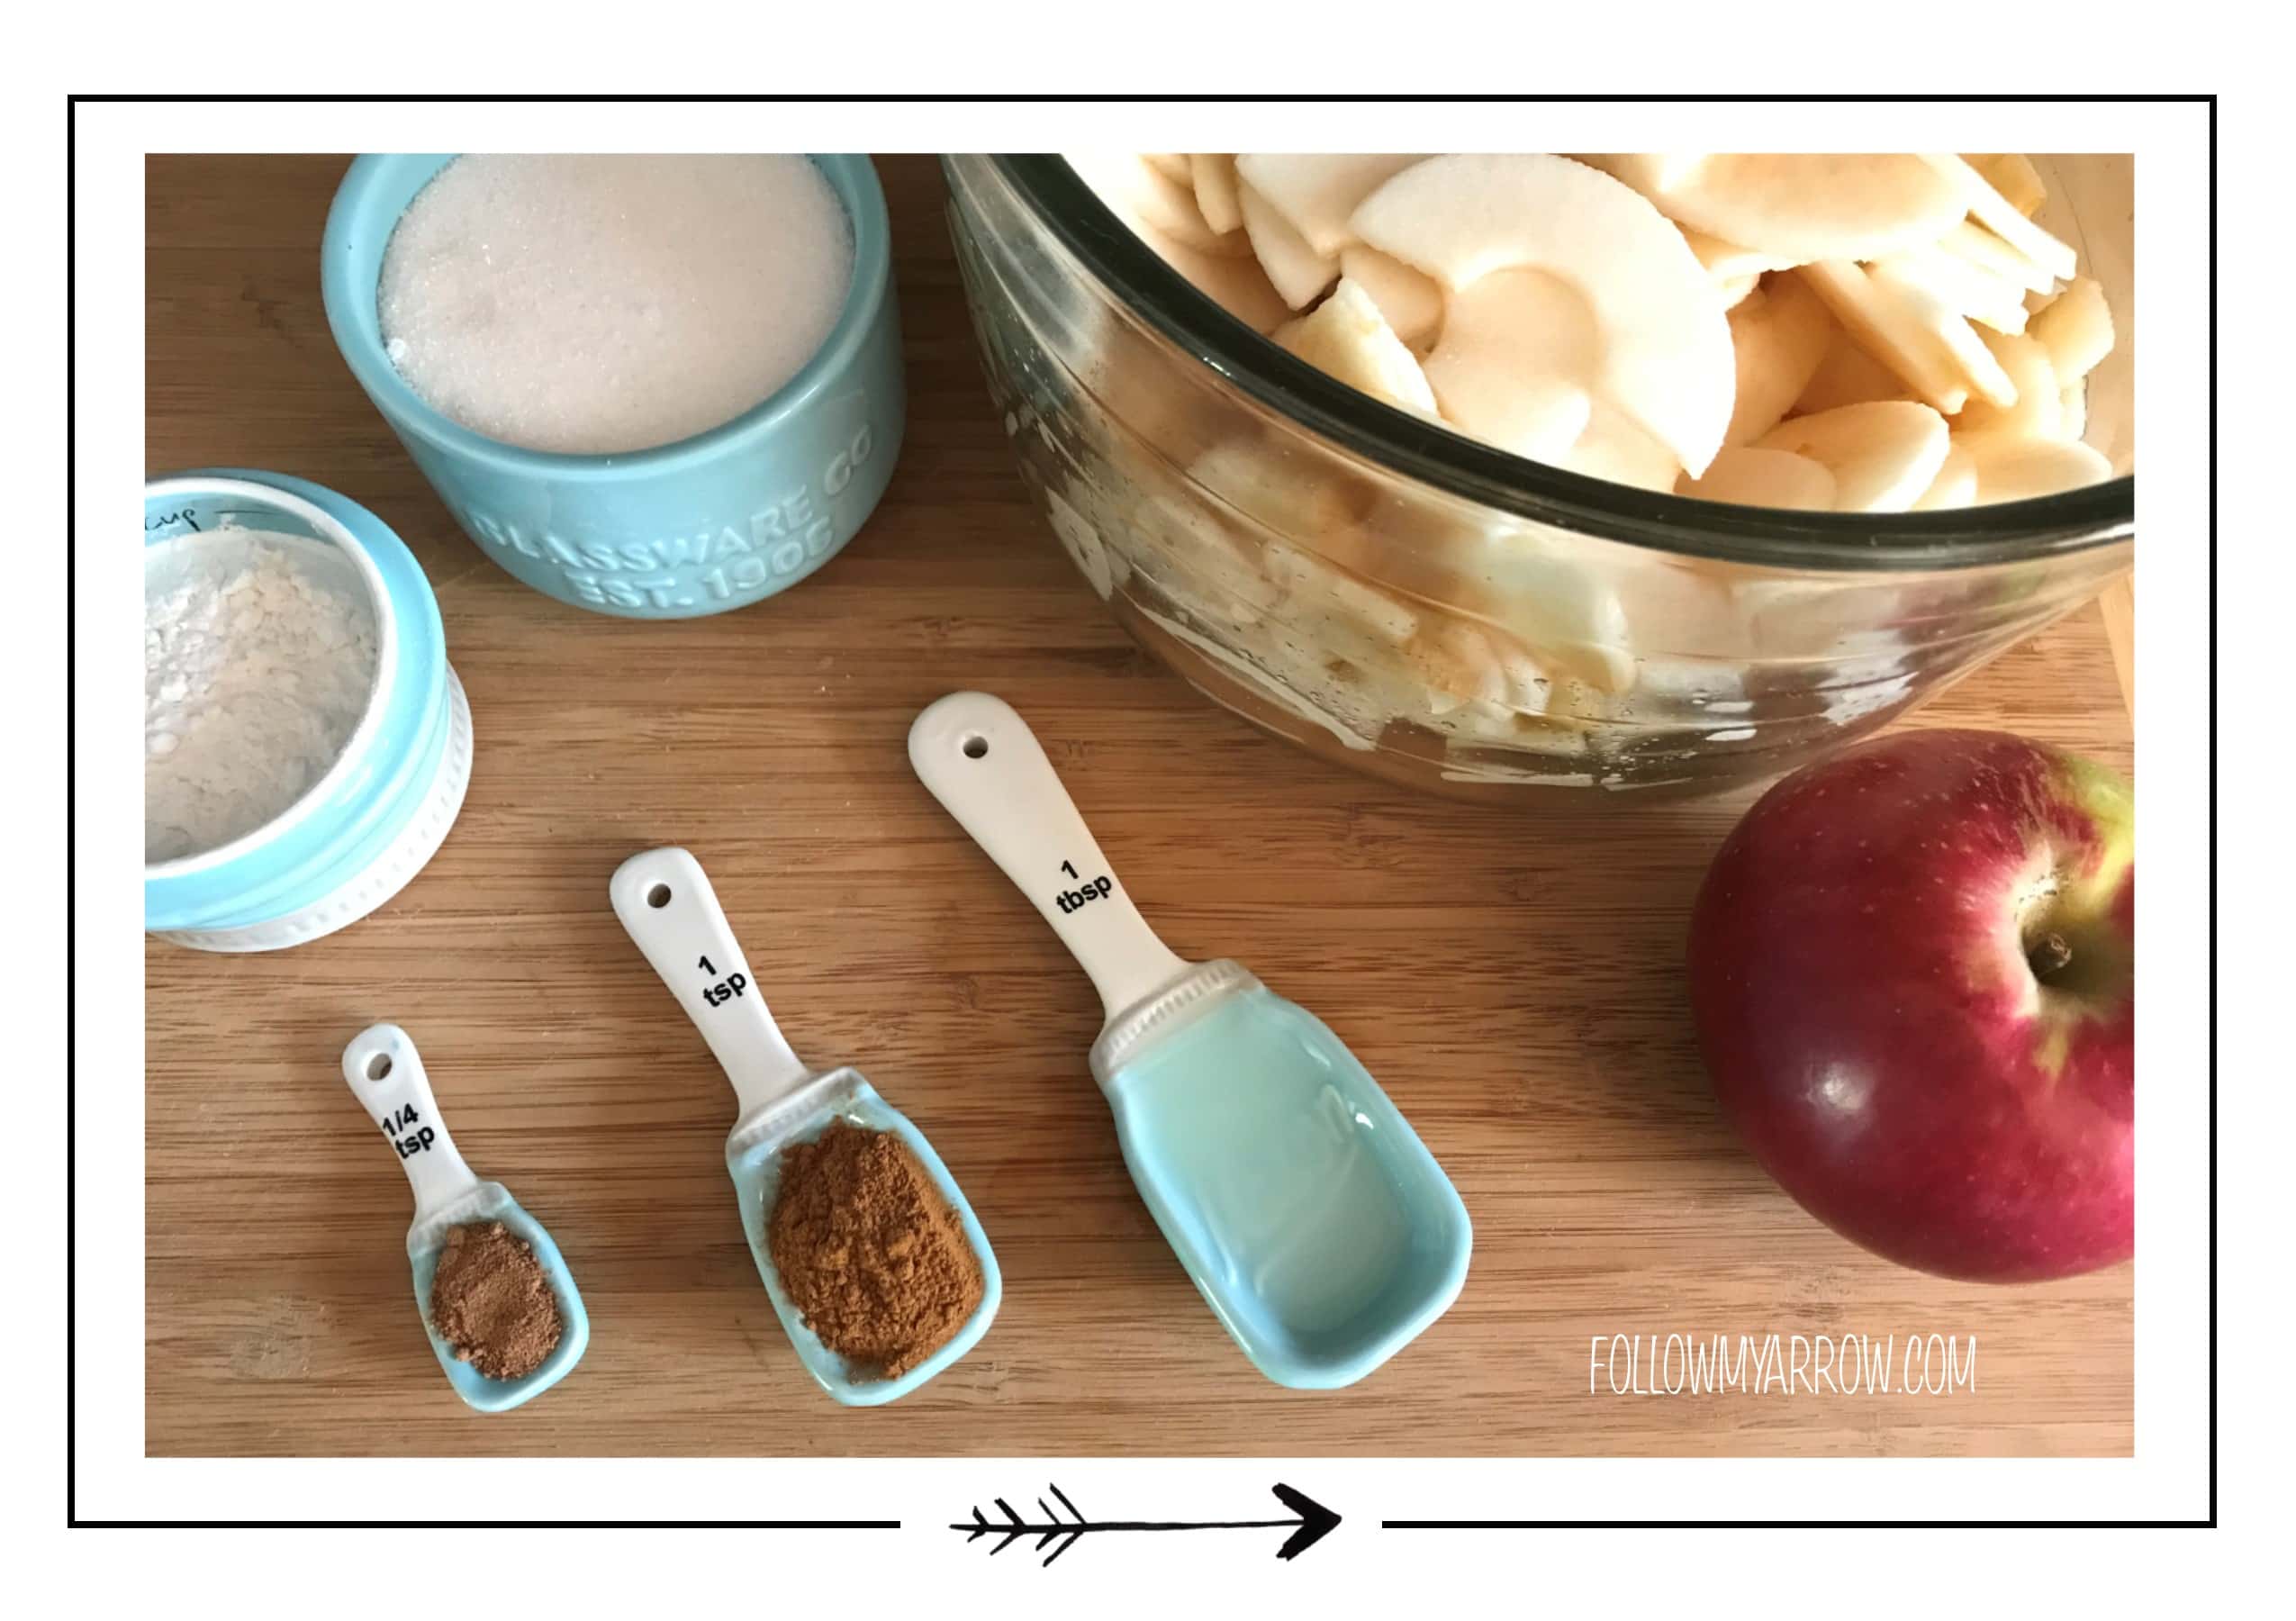
- 1/4 teaspoon Nutmeg
- 1 teaspoon Cinnamon
- 8 Apples about 3 lbs
- 1 tablespoon Lemon juice
 Crust
Crust
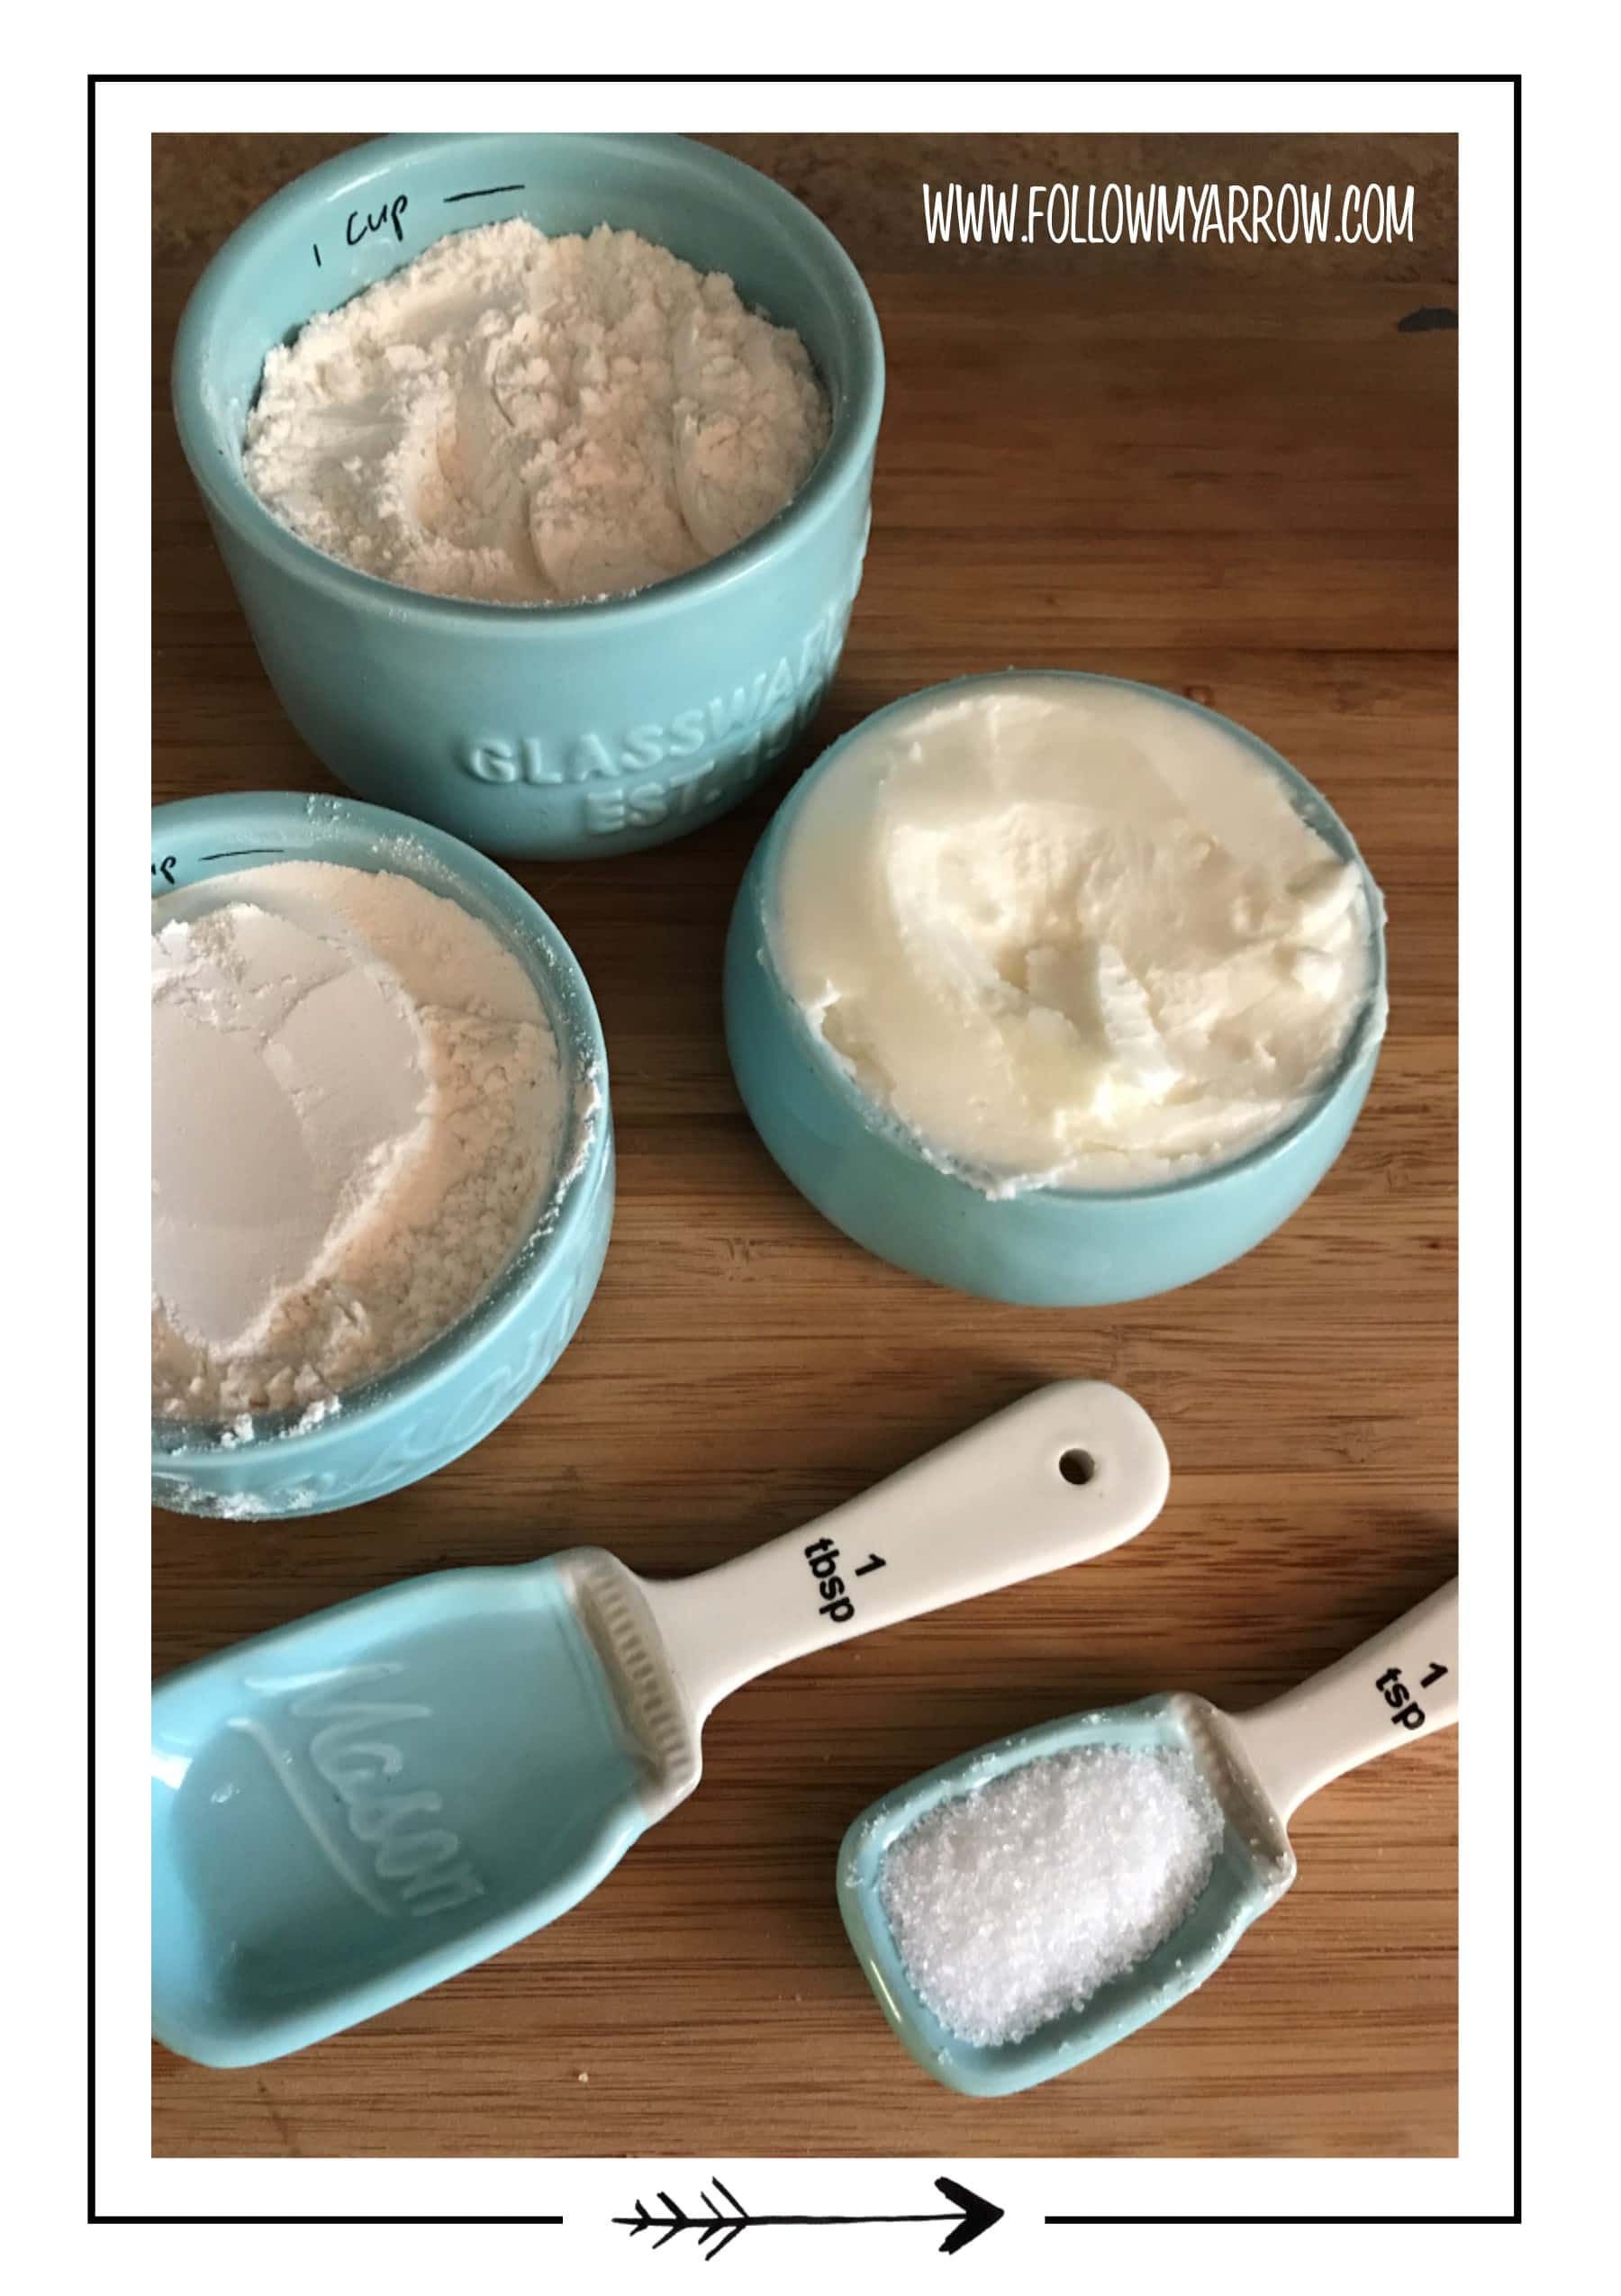
- 3 cups Flour
- 8-10 tablespoons Water
- 1 teaspoon Salt
- 3/4 cup Shortening
Instructions
Filling
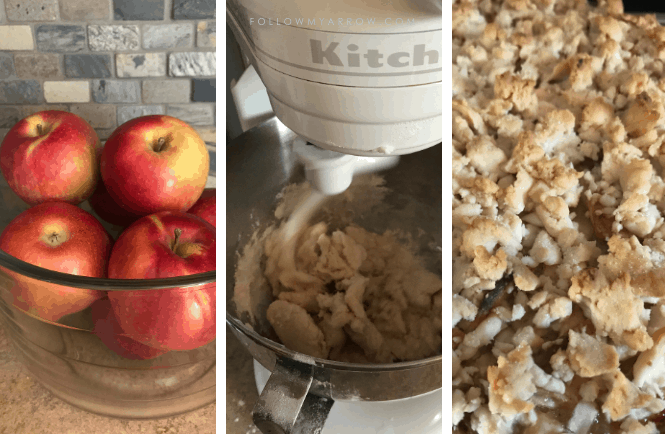
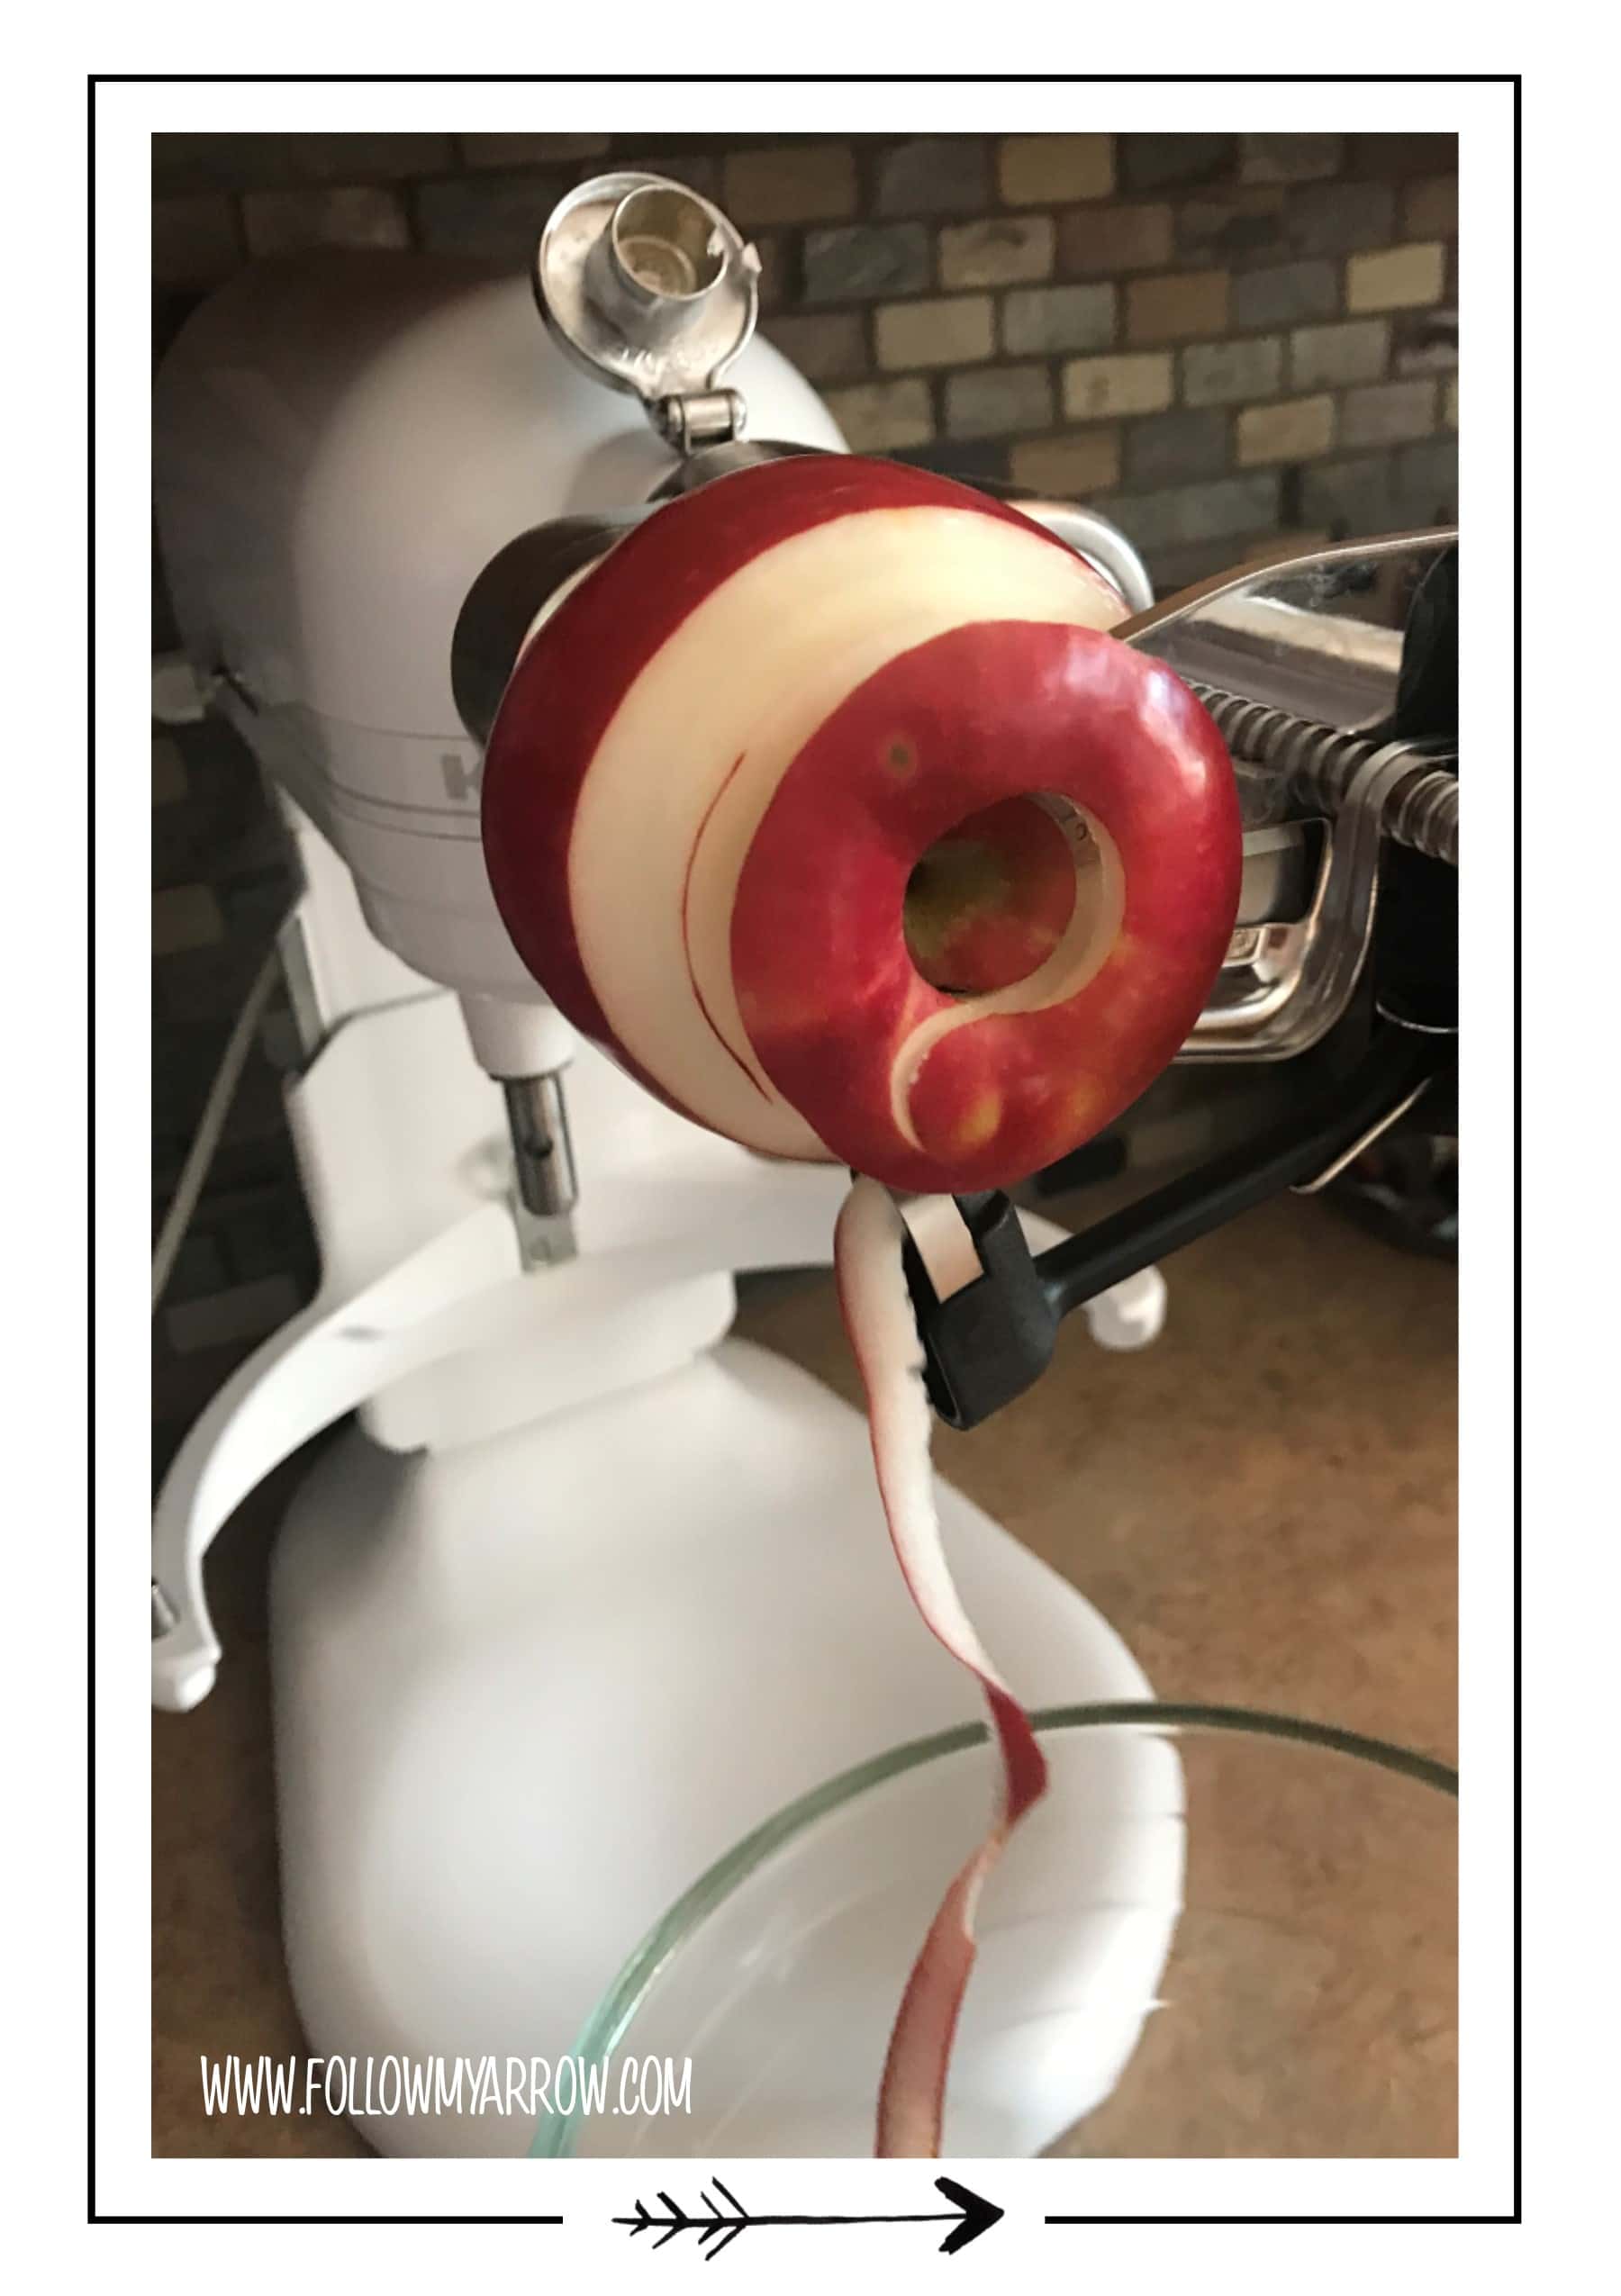
- Peel Core & Slice – The easiest way to get this process started is using the Kitchen Aid Mixer Spiralizer Attachment with Peel, Core & Slice. You can also use a manual version or simply peel, core and slice by hand.
- Do this with all eight apples.
- Disregard all peelings and cores.
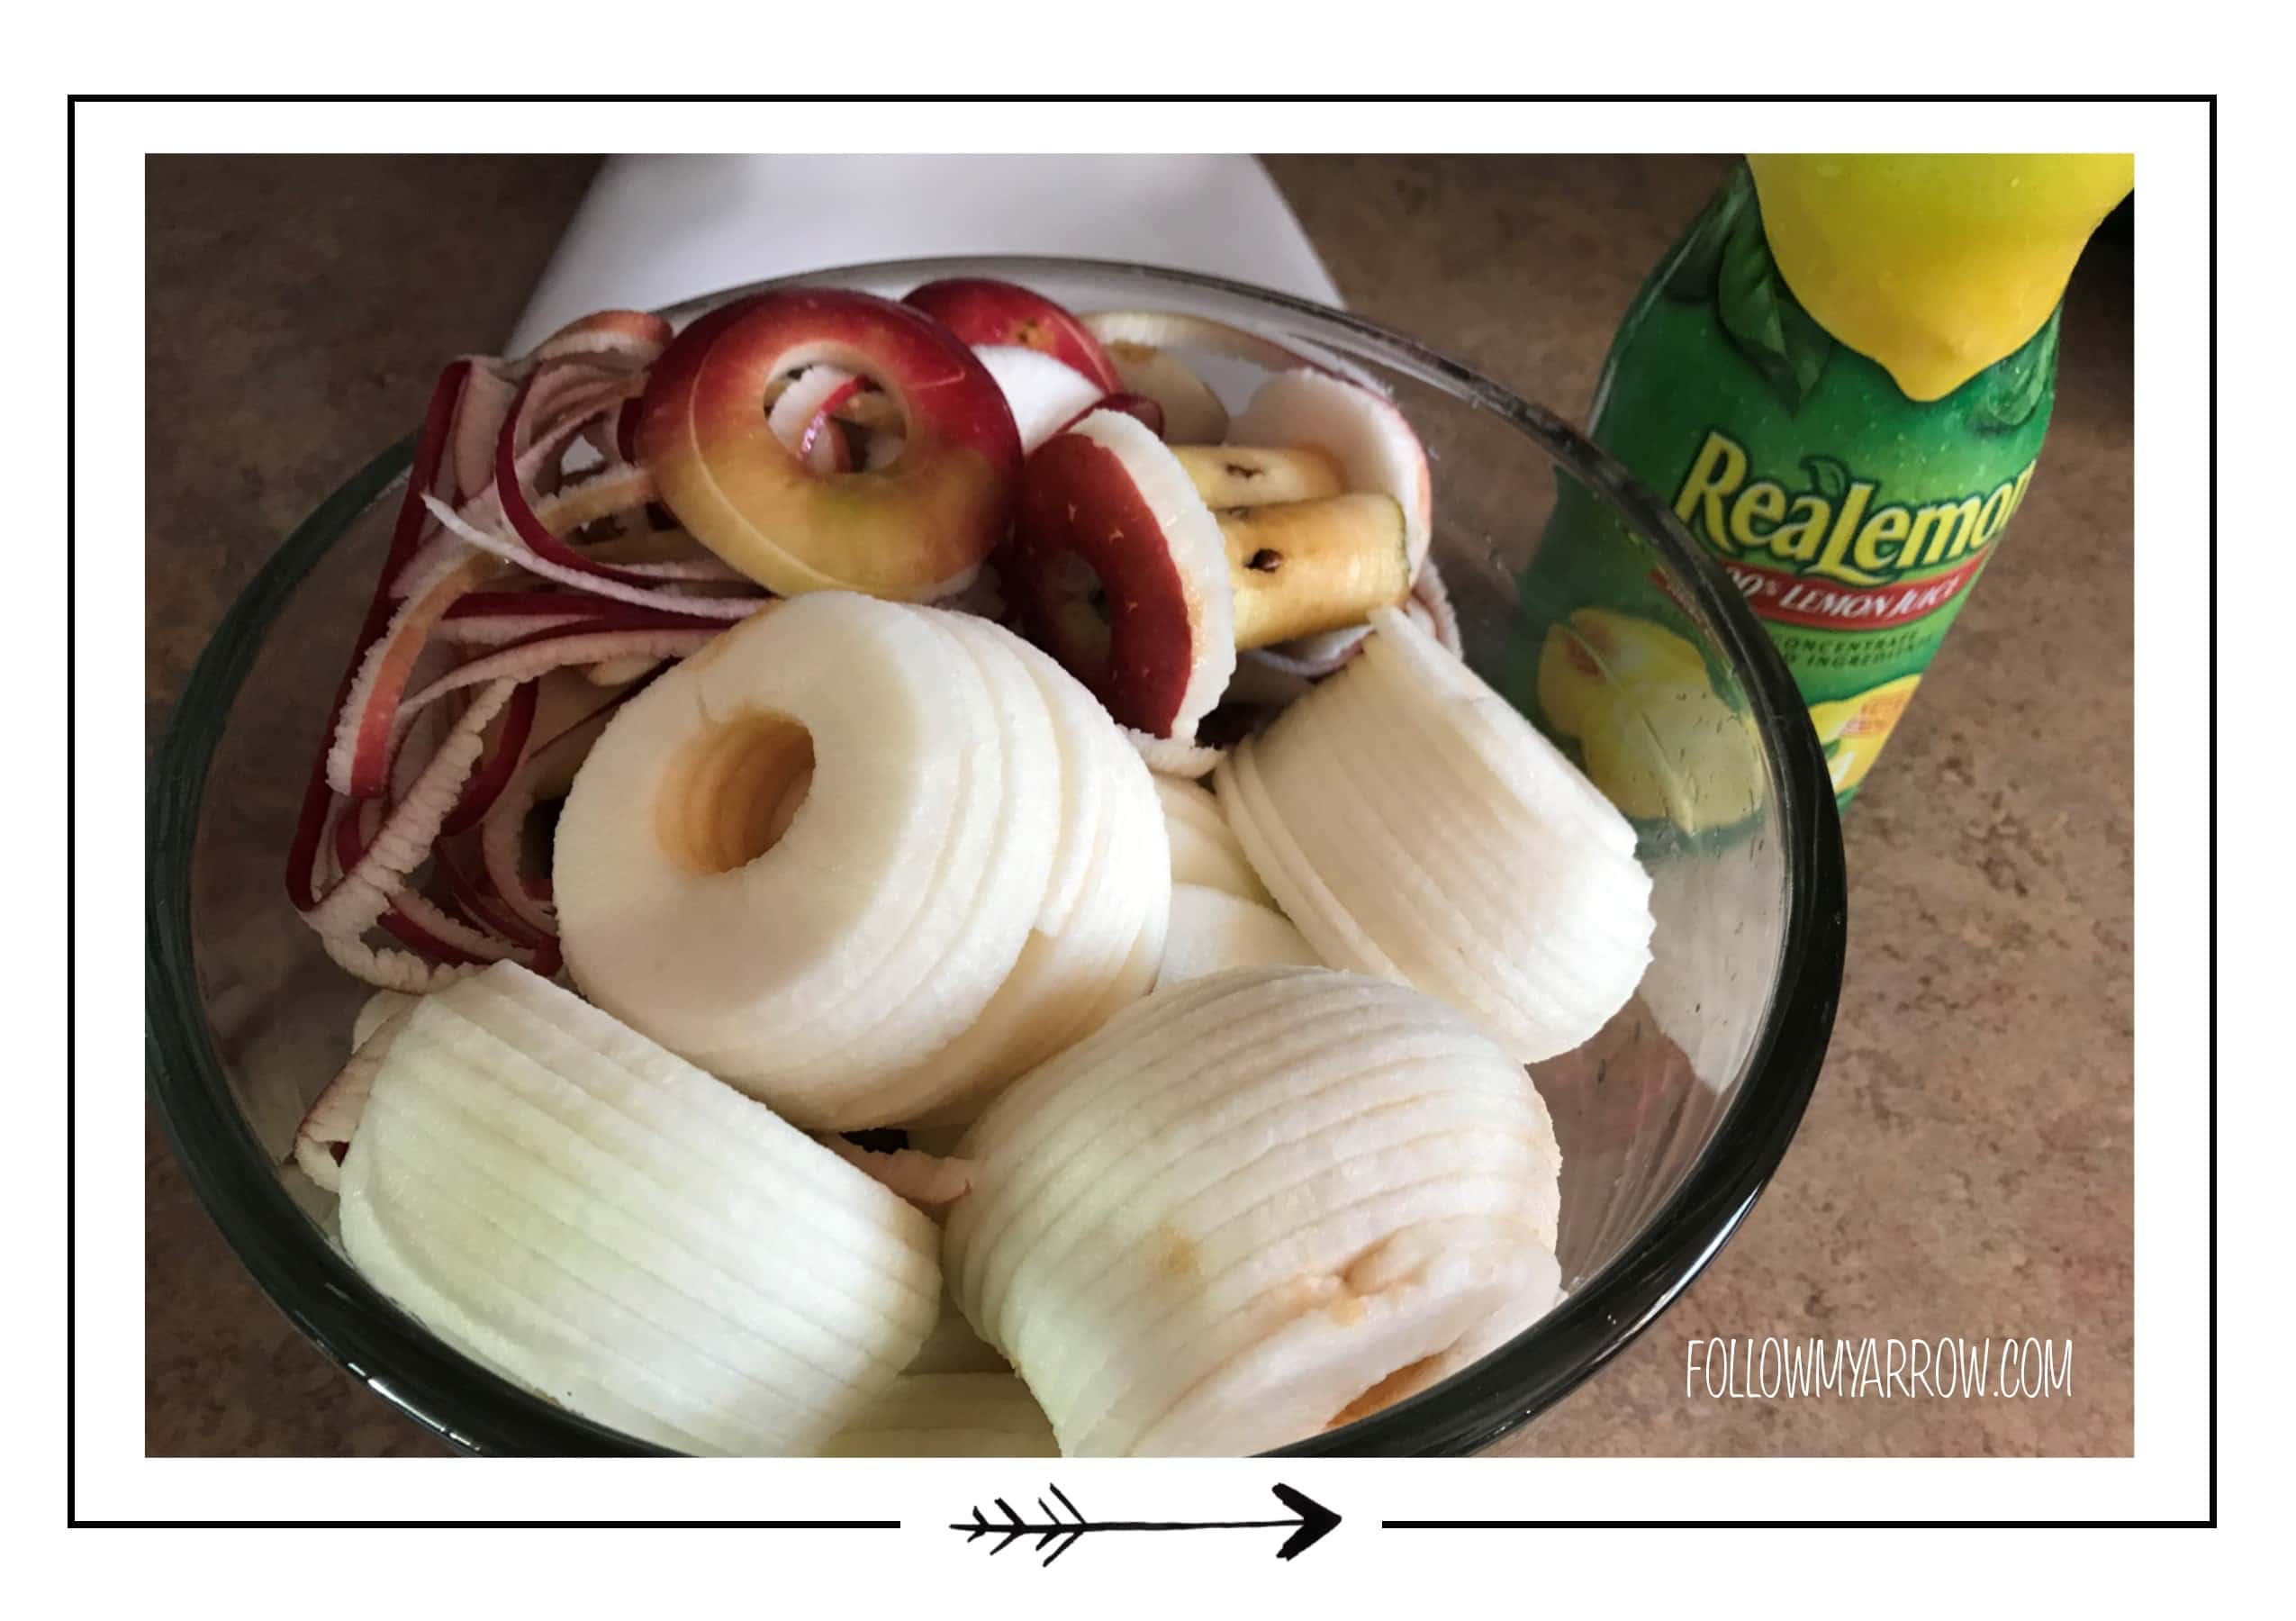
- Sprinkle lemon over all of the sliced apples. This will do three things, preserve the apples (so they don’t turn brown), assist with adhering the coating (next step:), and also heightens the flavor.
- Coating – In a small bowl sift flour, sugar, nutmeg, and cinnamon together. I always sift as opposed to mixing because is distributes the ingredients well and also catches any clumps that may be hiding.
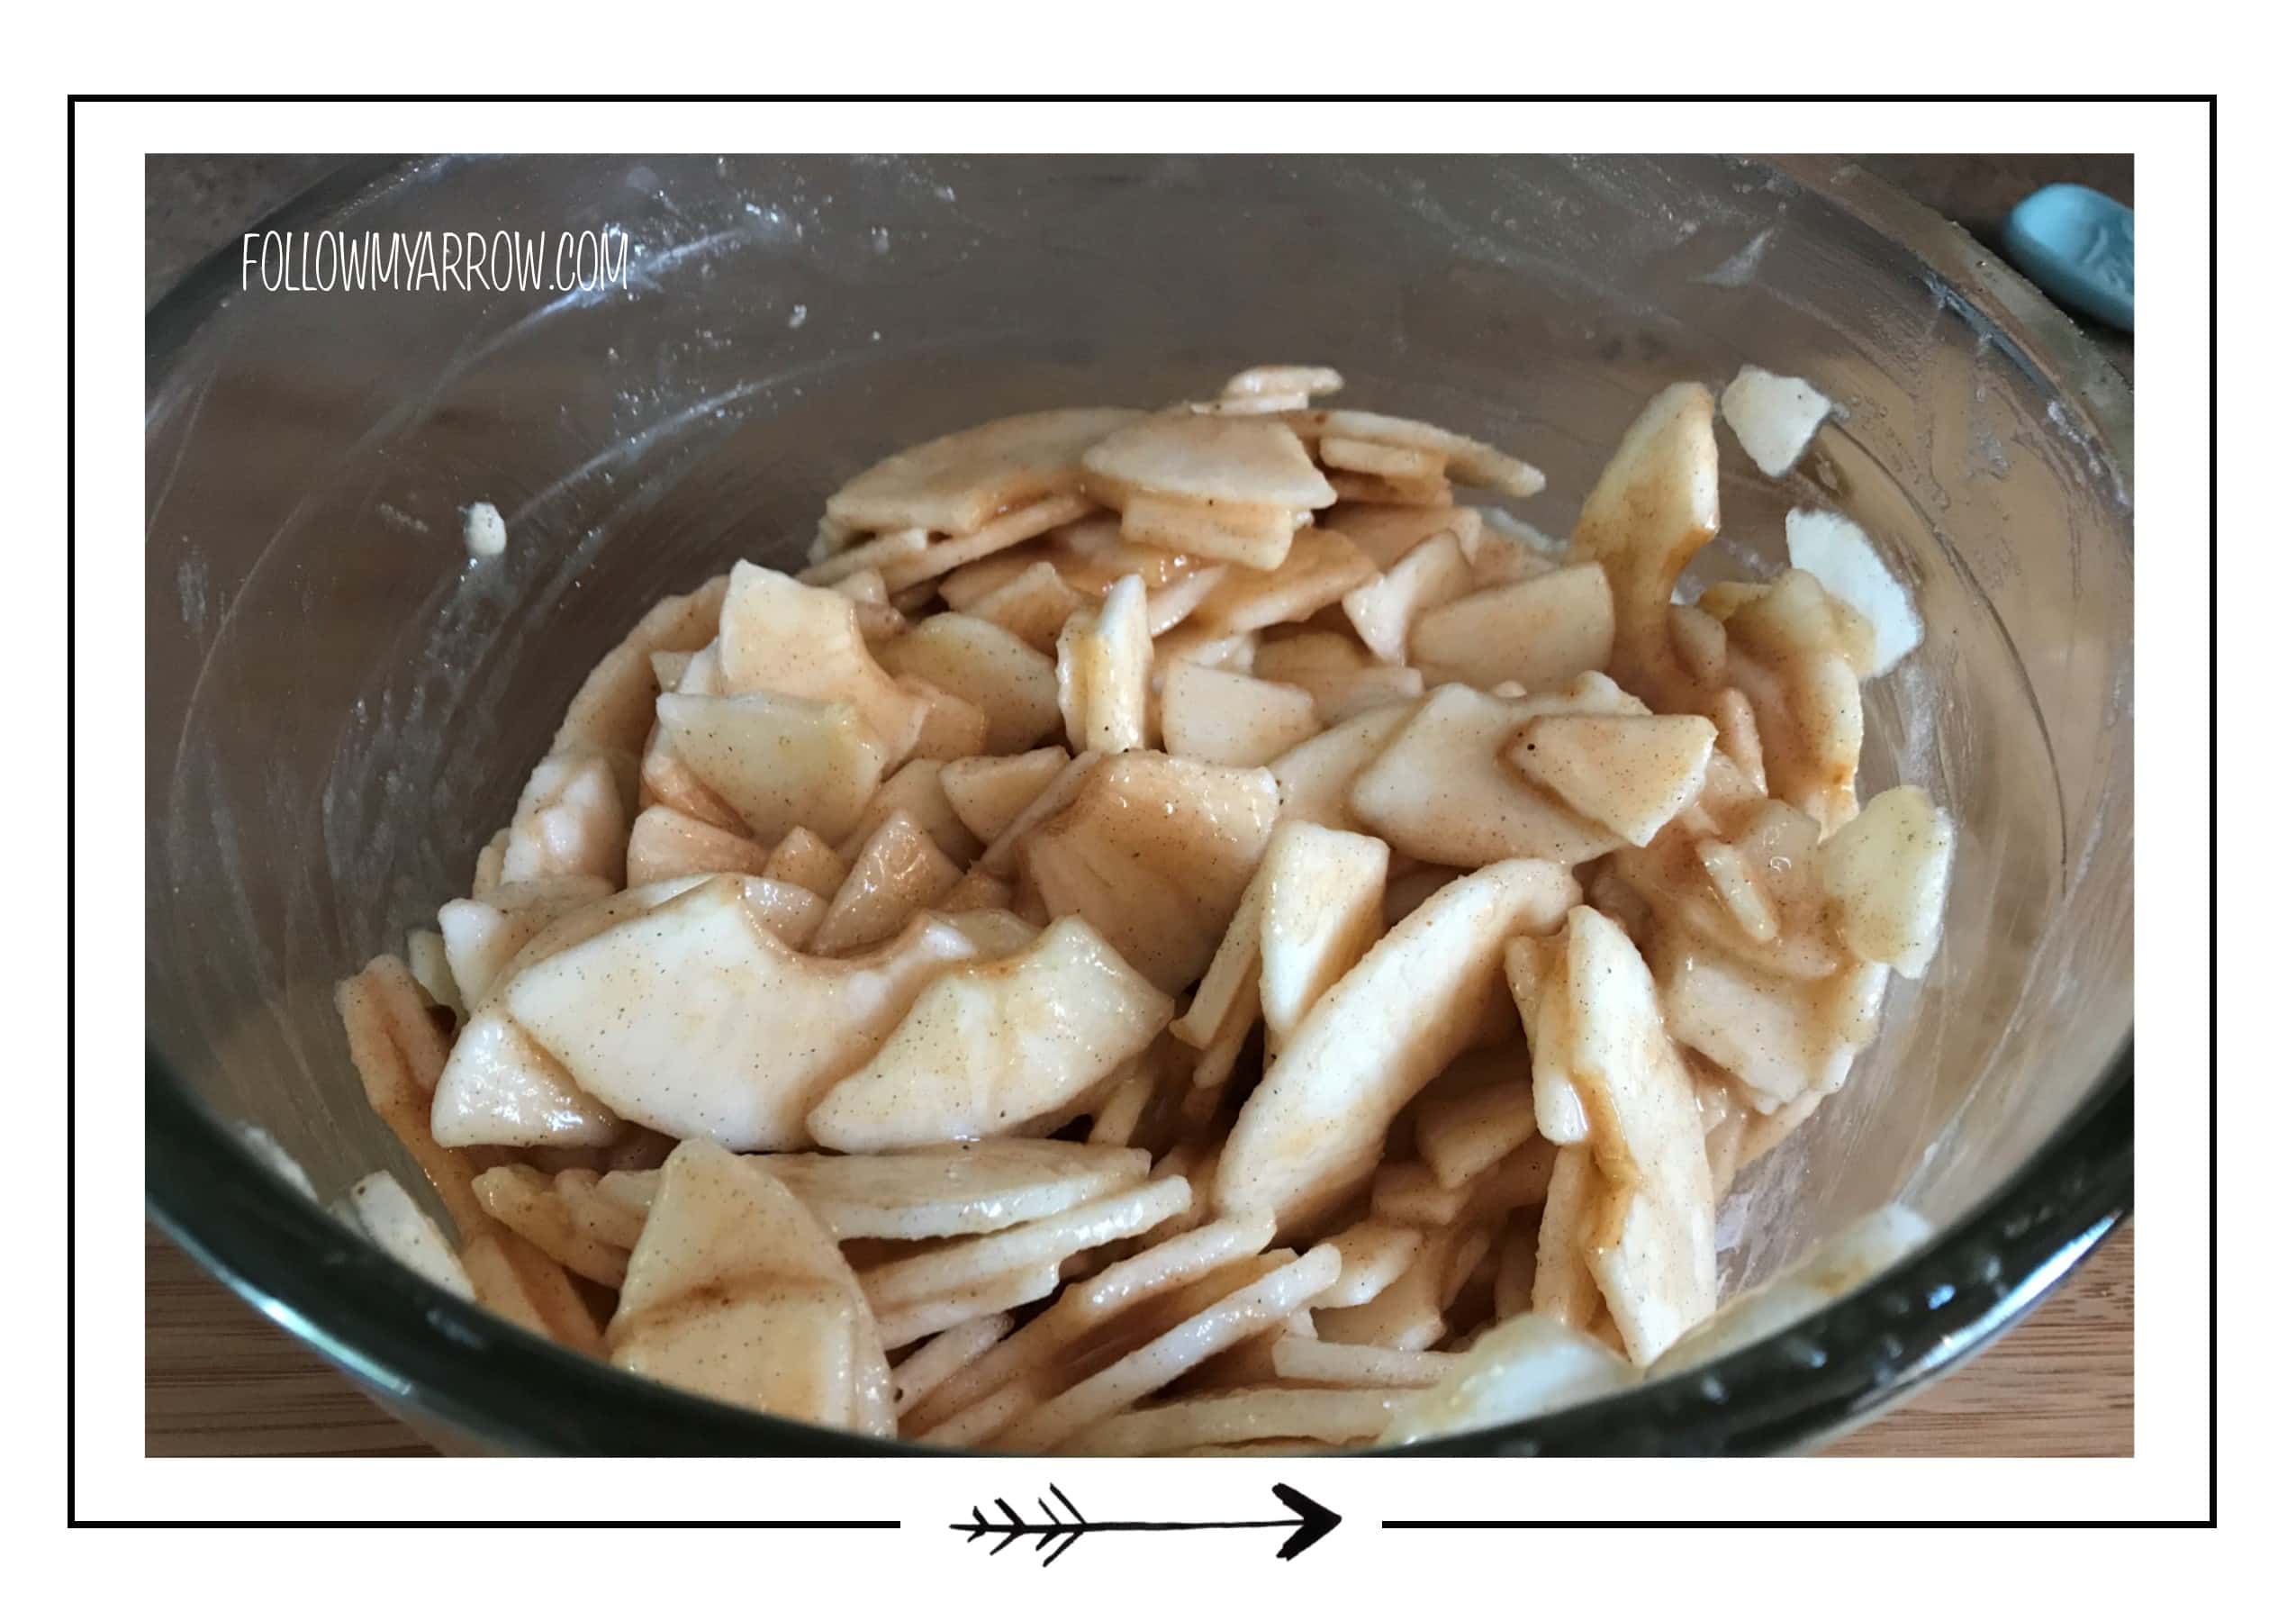
- Combine – the sliced apples and coating mixture. Mix together lightly so not to break apple slices. Flipping with a spatula works best.
Crust
- Combine dry ingredients – In a medium bowl sift together the flour and salt.
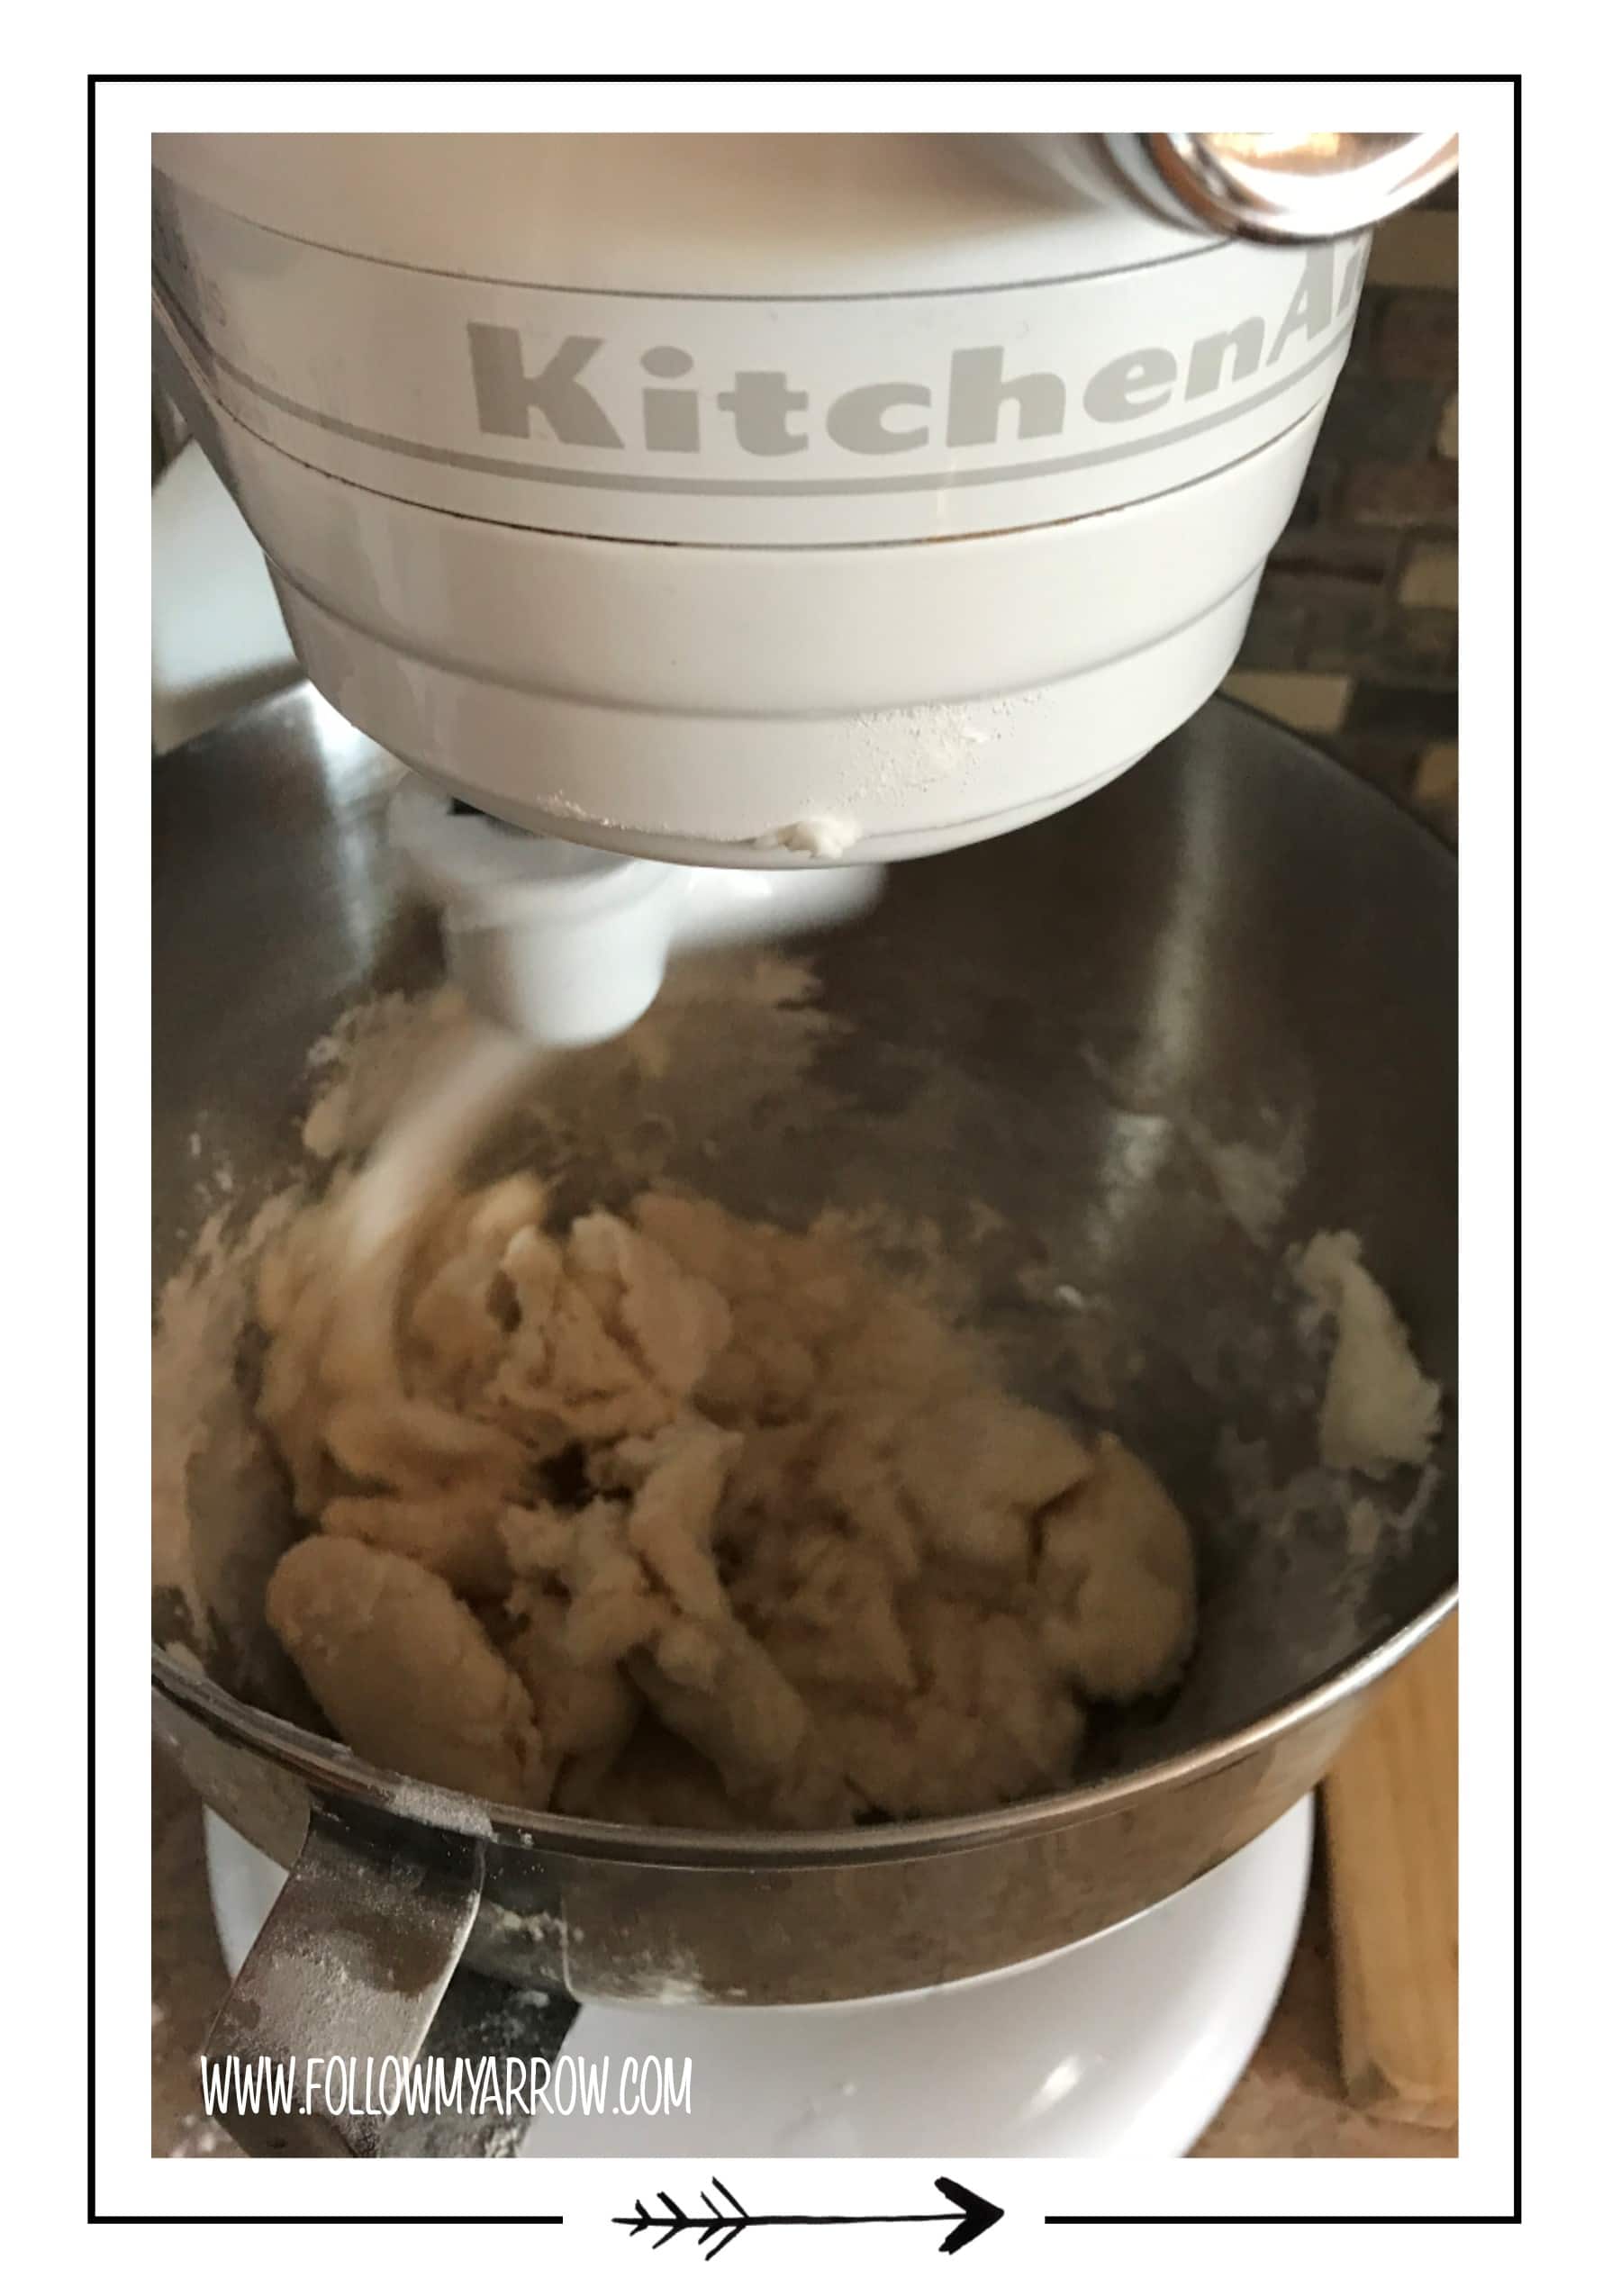
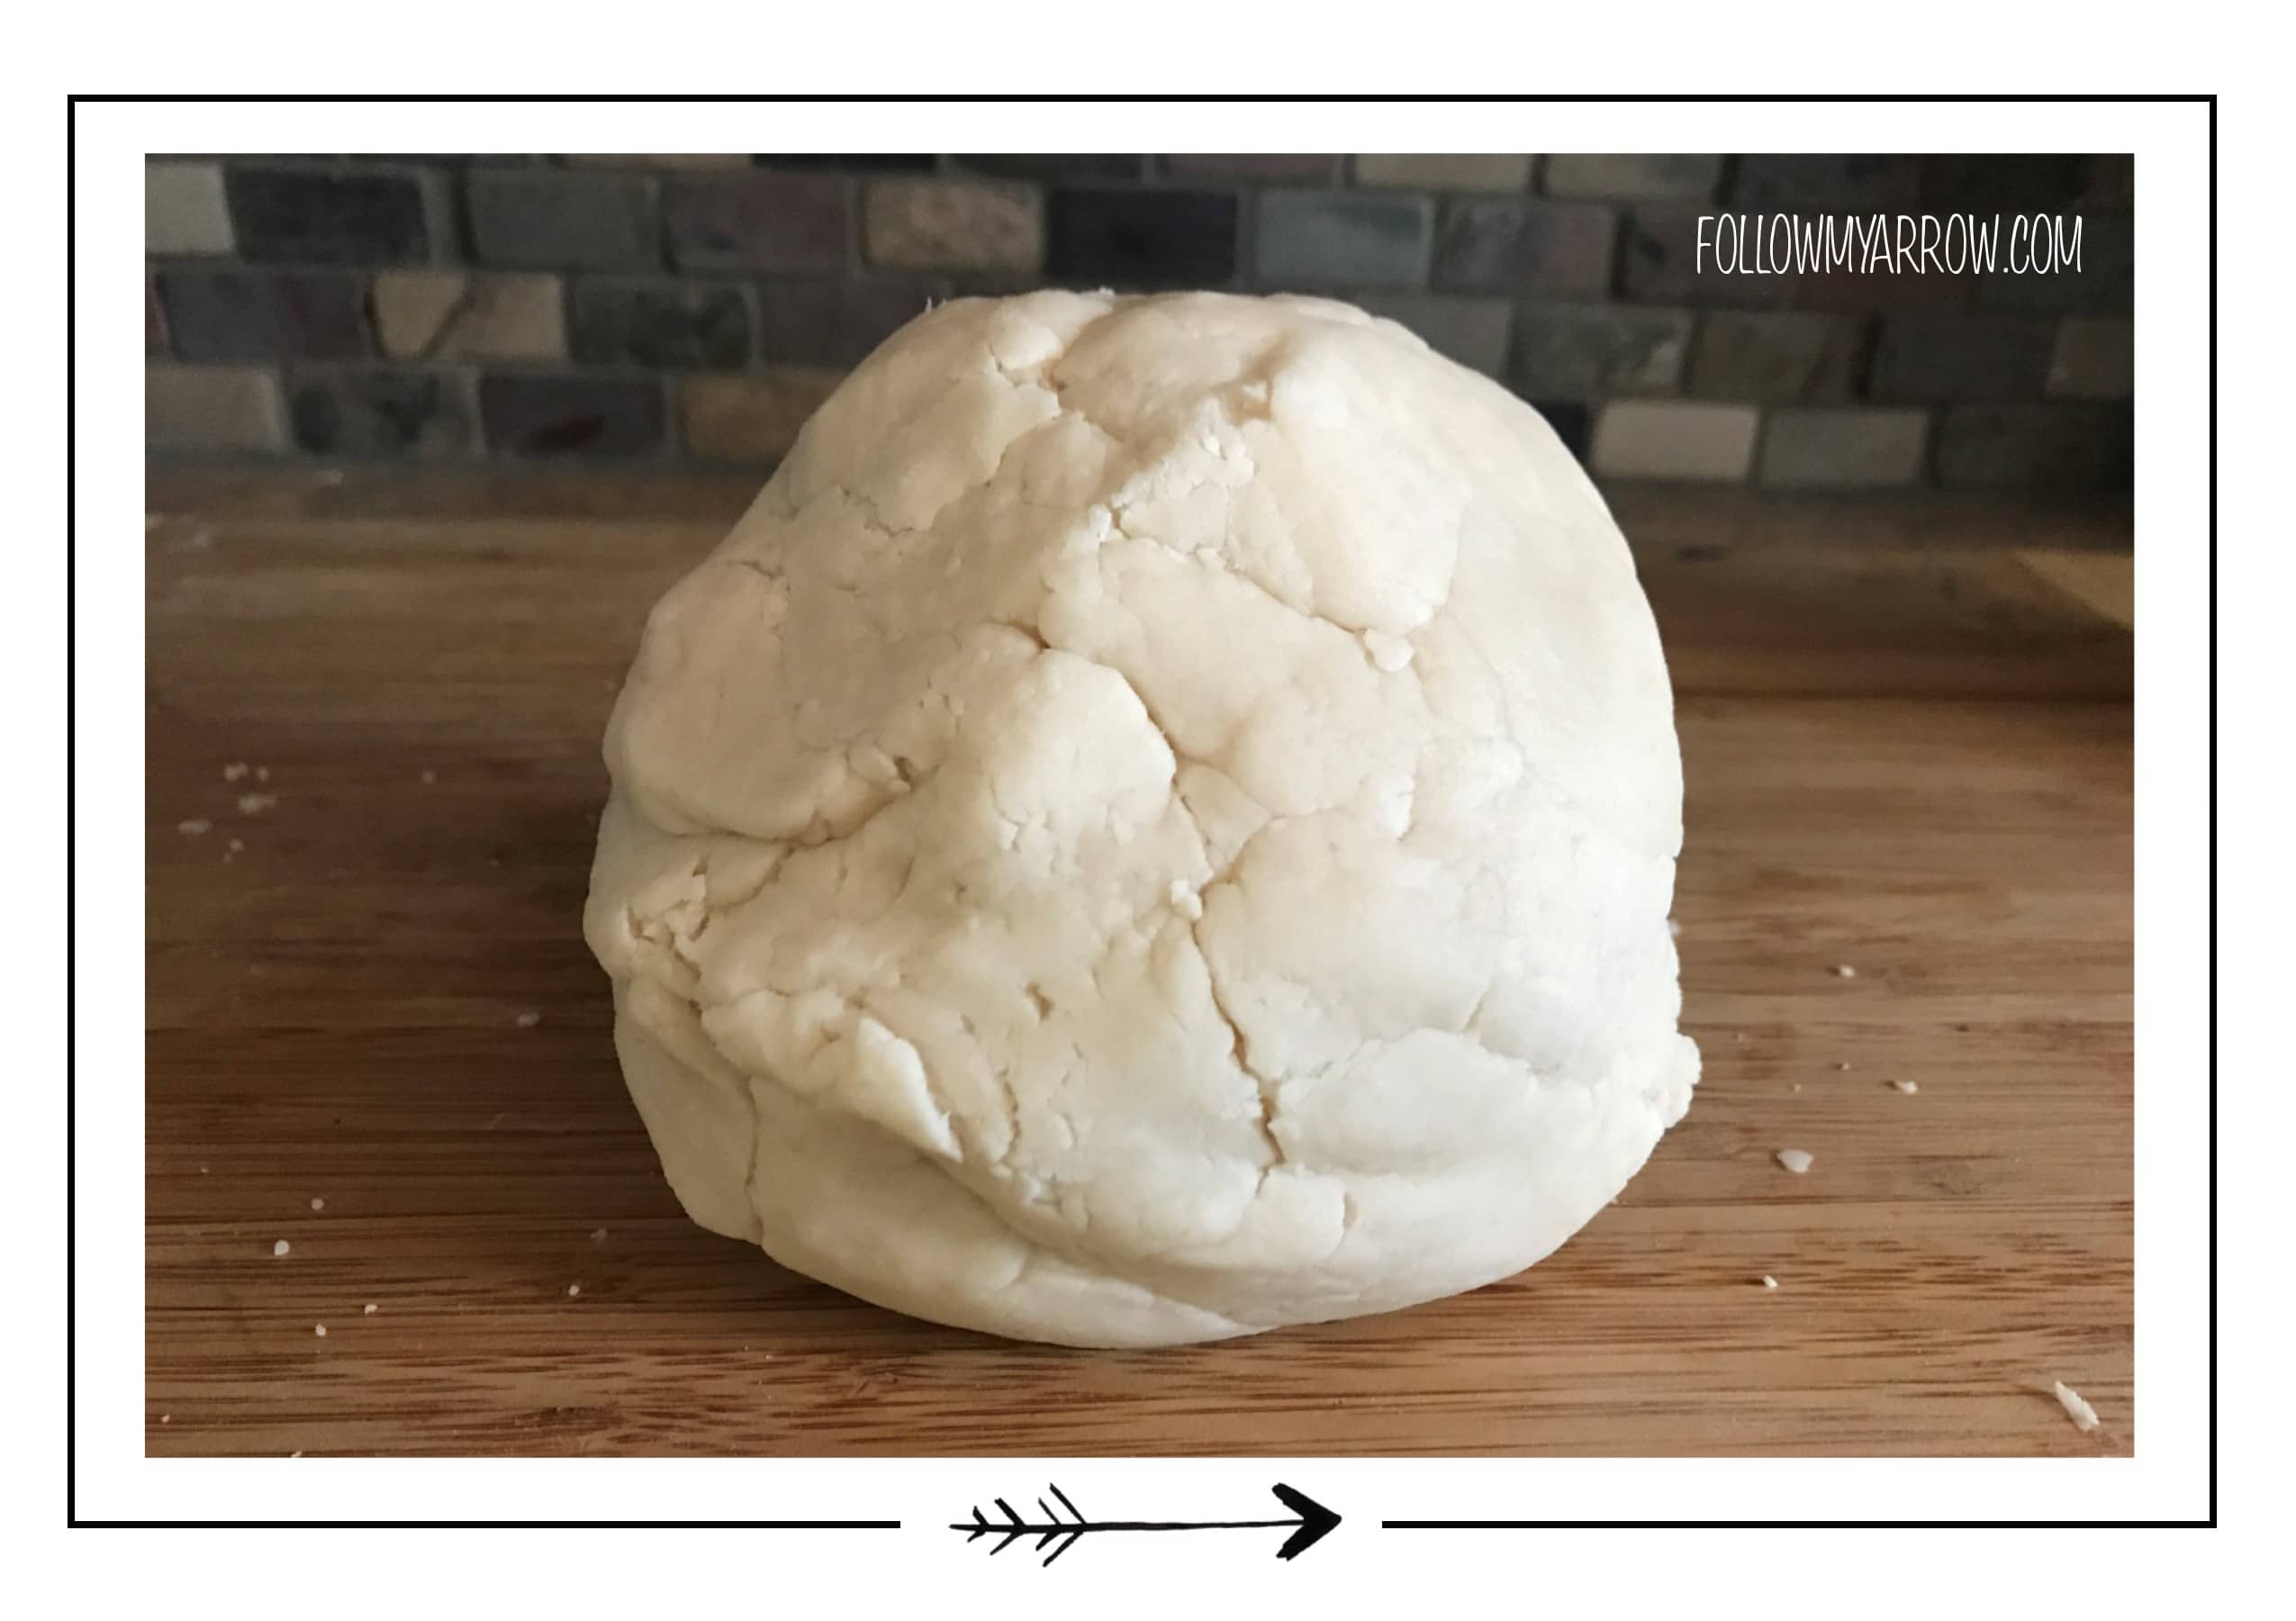
- Combine all ingredients – In a large bowl combine the dry mix with the shortening and water. This step is easiest using the Kitchen Aid mixer again. I use the dough hook but you can also so by hand.
Assembly
- Spray pie plate with non-stick spray.
- Divide dough in half. Set one aside for crumble top.
- Roll out into a circle (about 4 inches larger than the size of the pie plate).
- Place in pie plate.
- Pour apple filling into dough covered pie plate. Be sure to fill it evenly.
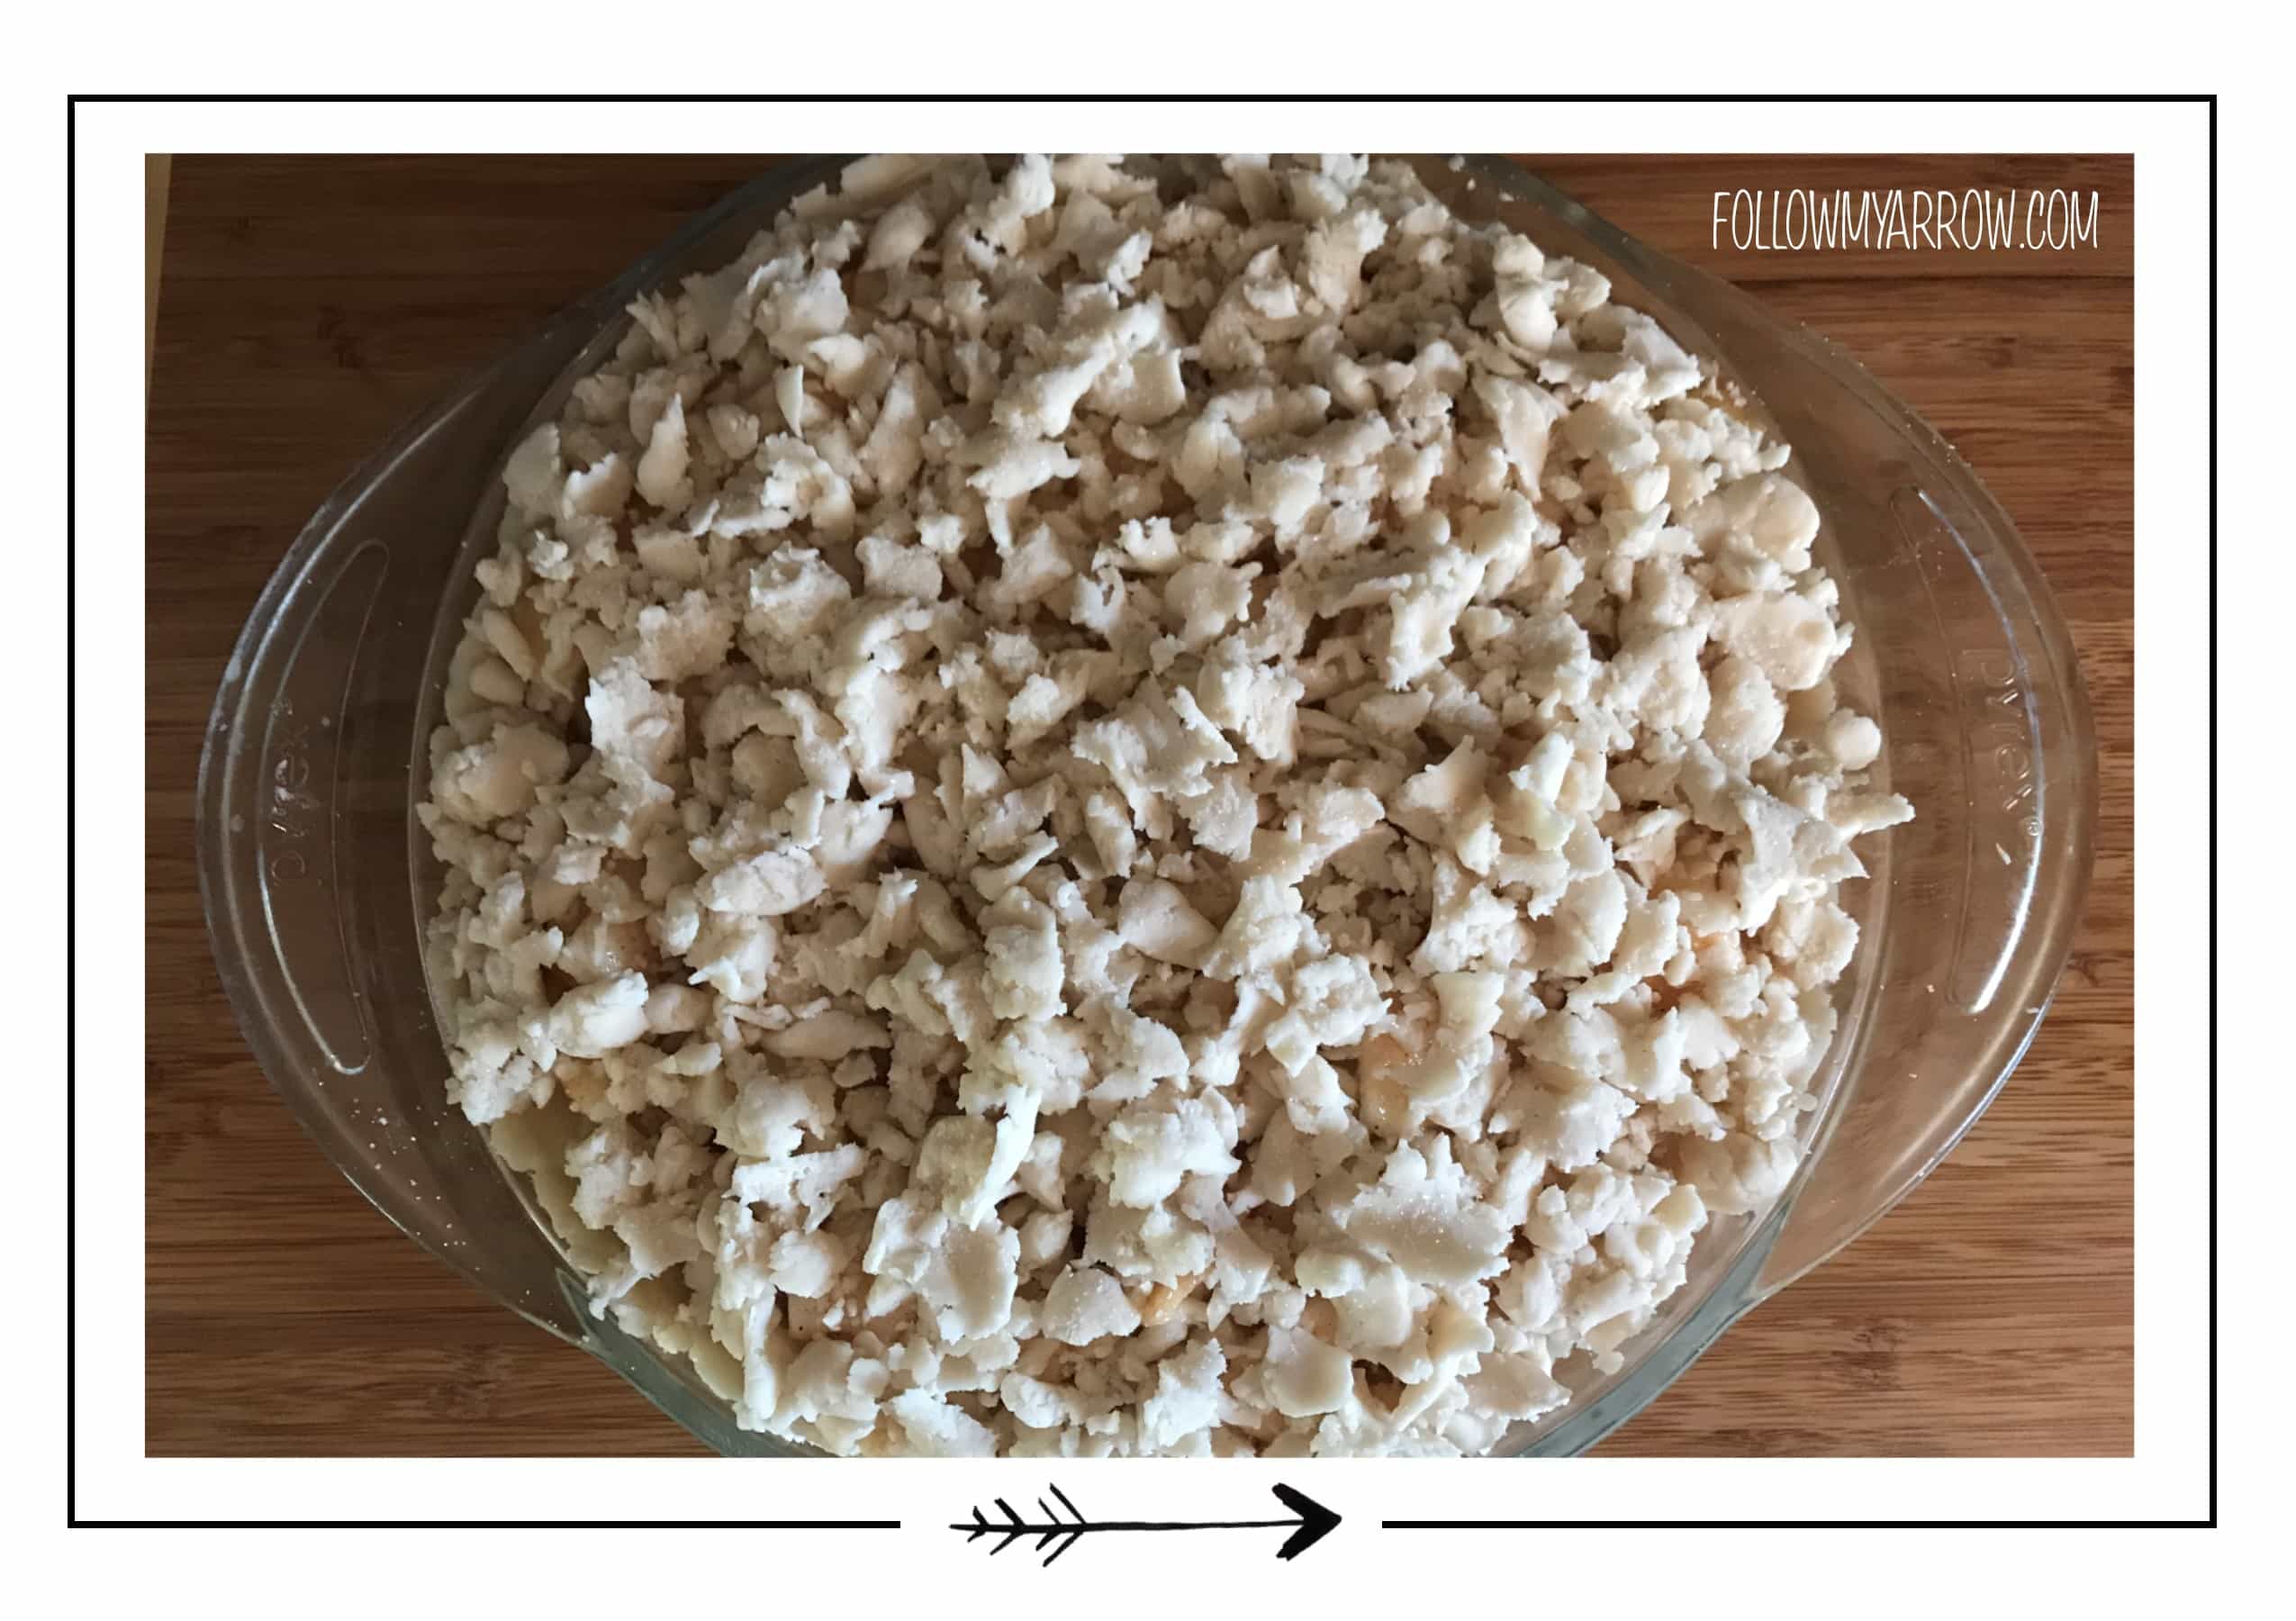
- Use the last half of the dough ball to crumble and sprinkle over the entire pie top.
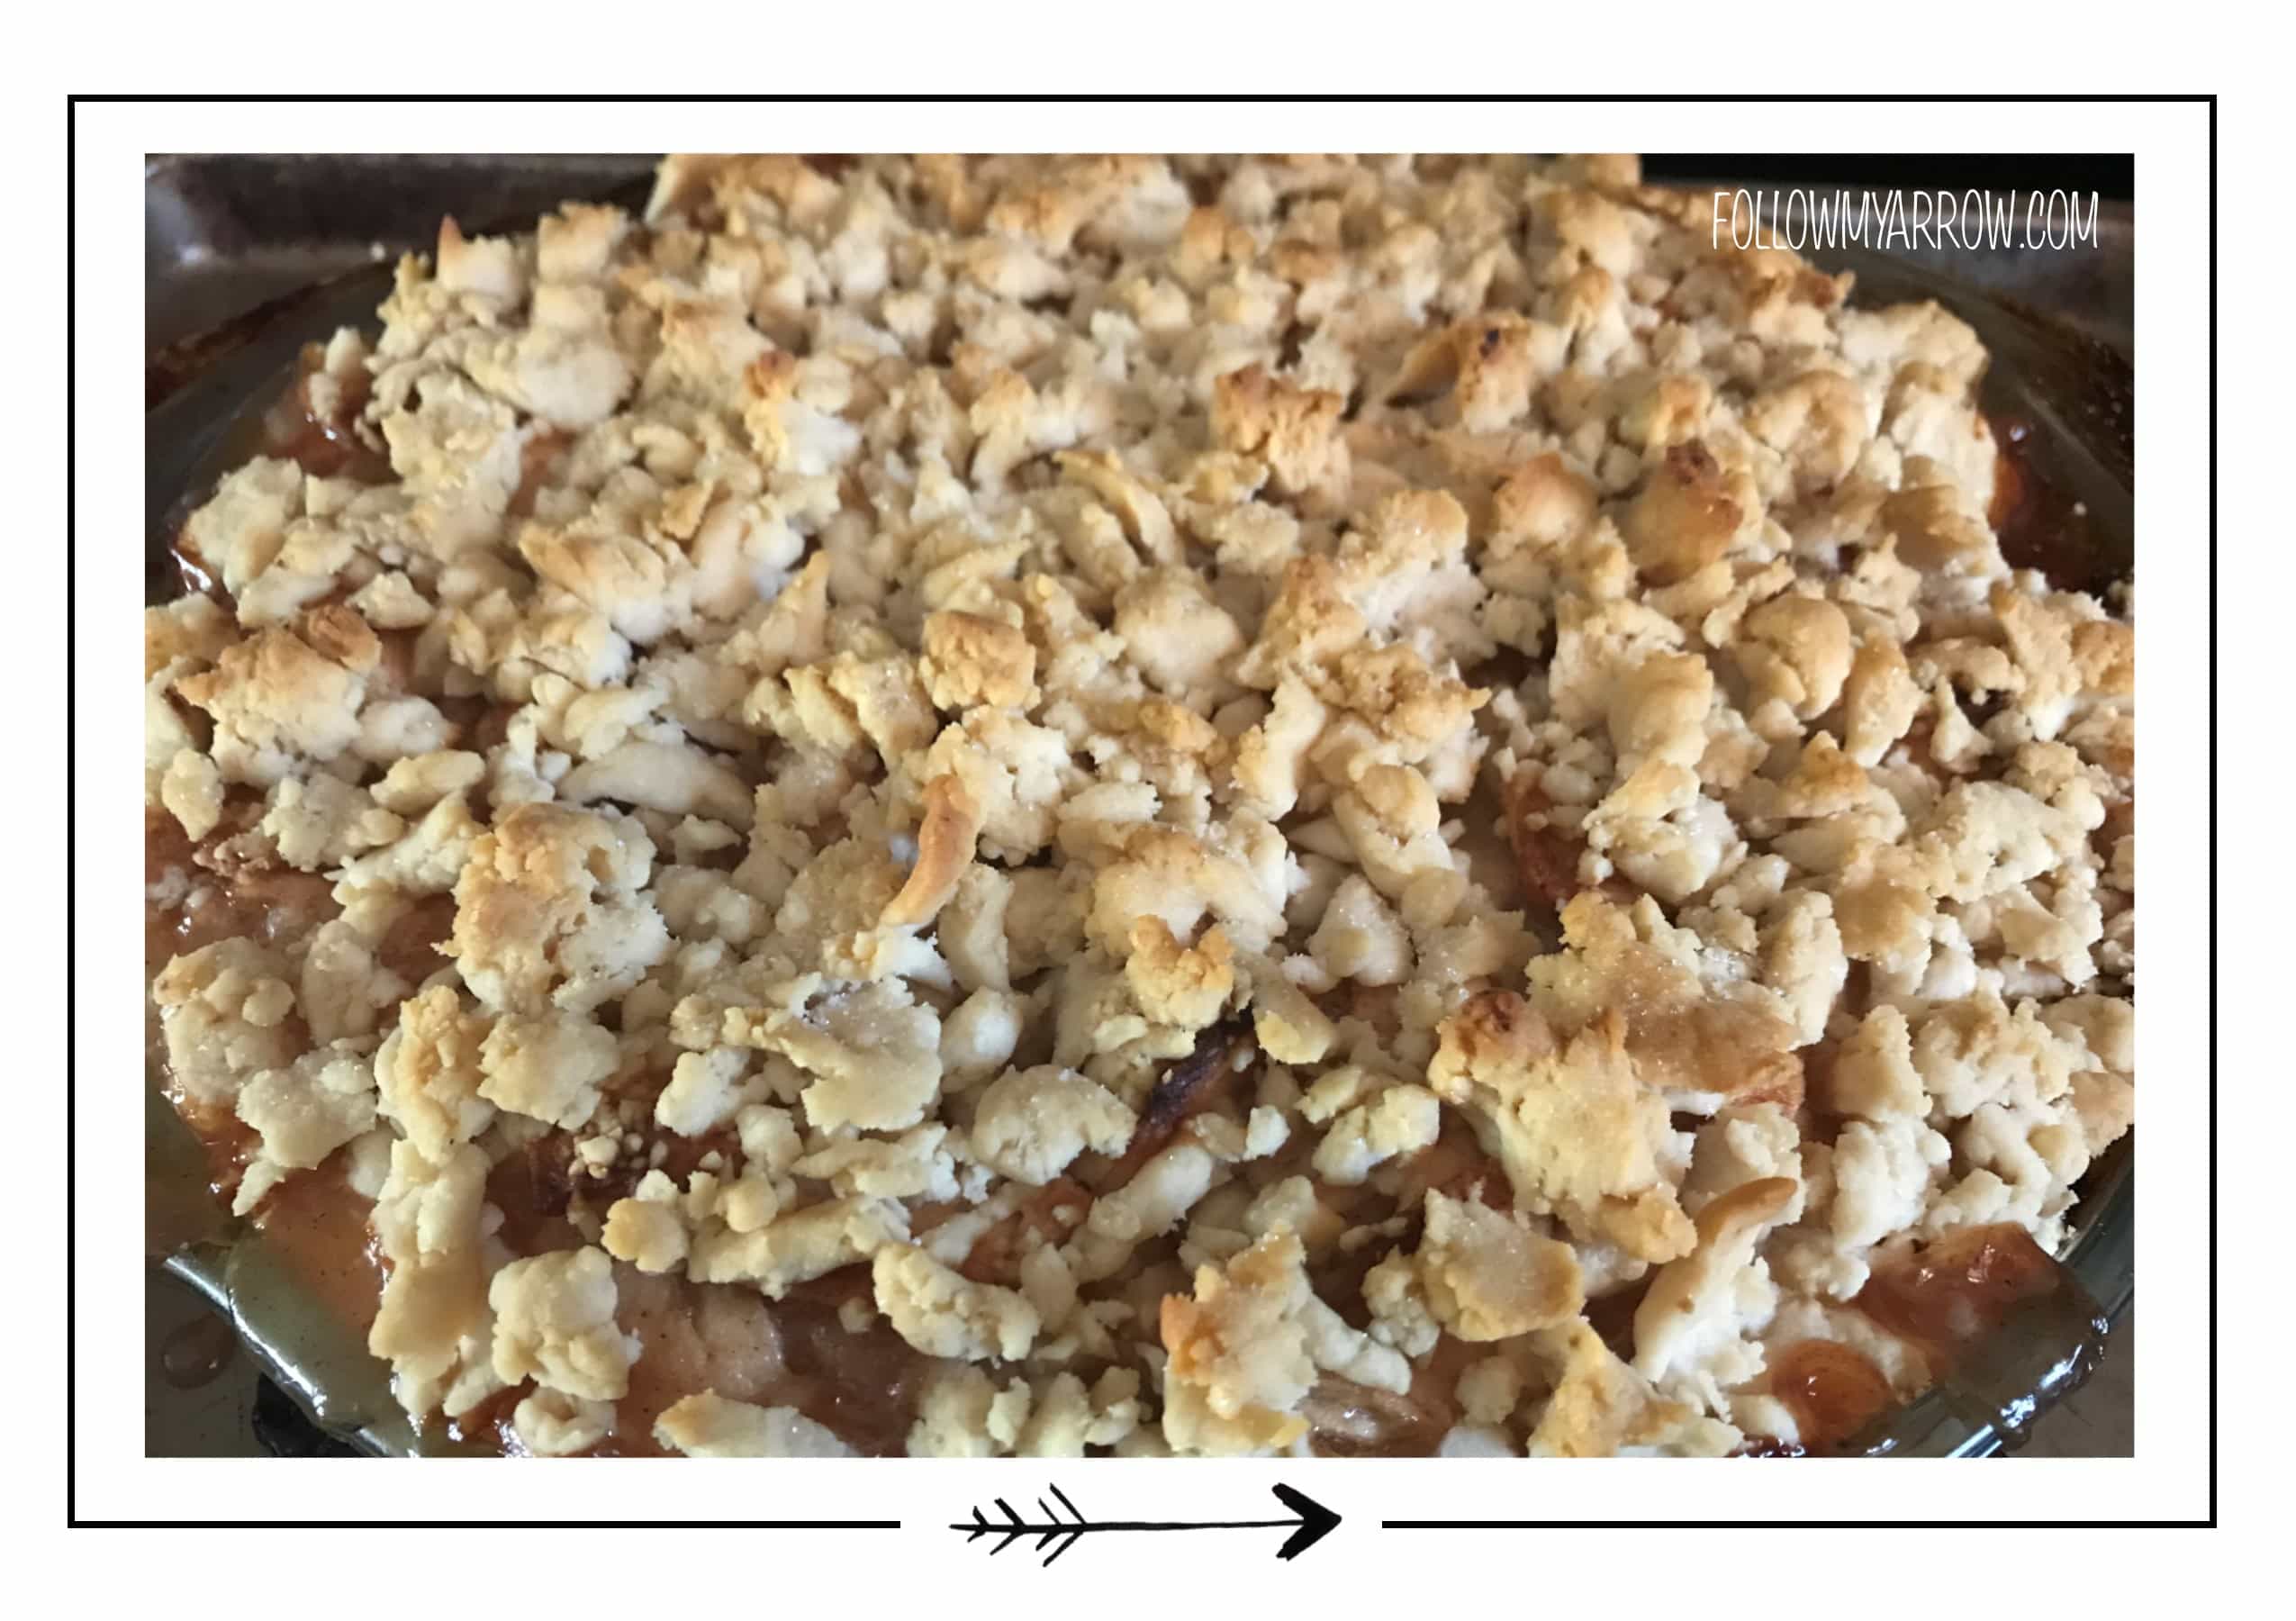
- Place in oven and bake at 350°F for 1 hour or until top is lightly golden brown.
- Remove and enjoy a slice with a scoop of vanilla bean ice cream!
Recipe Notes
Tip – Splash apples with a little lemon juice as you go. This will stop them from turning brown as they sit in the bowl.
Tip – If pealing, coring, and slicing by hand be very intentional about keeping your slices the same thickness. This will allow your filling to bake evenly and avoid any under baked apple slices making their way to your plate.
Tip – Flip dough over rolling pin to easily place in pie plate.
Tip – Place a baking sheet under the pie plate in the oven to catch any drips during baking.
This post contains affiliate links. All opinions are my own. I only recommend items that I use myself. For more information please see my disclosures here.
The best way I can describe a Dutch apple pie is a cross between a traditional apple pie and apple crisp. So if you can’t decide on apple pie or apple crisp, this is the recipe for you!
- 3 tablespoons Flour
- 1 cup Sugar
- 1/4 teaspoon Nutmeg
- 1 teaspoon Cinnamon
- 8 Apples about 3 lbs
- 1 tablespoon Lemon juice
- 3 cups Flour
- 8-10 tablespoons Water
- 1 teaspoon Salt
- 3/4 cup Shortening
-
Peel Core & Slice - The easiest way to get this process started is with the Kitchen Aid Mixer attachment. You can also use a manual version or simply peel, core and slice by hand.
Do this with all eight apples.
Disregard all peelings and cores.
-
Sprinkle lemon over all of the sliced apples. This will do three things, preserve the apples (so they don't turn brown), assist with adhering the coating (next step:), and also heightens the flavor.
-
Coating - In a small bowl sift flour, sugar, nutmeg, and cinnamon together. I always sift as opposed to mixing because is distributes the ingredients well and also catches any clumps that may be hiding.
-
Combine - the sliced apples and coating mixture. Mix together lightly so not to break apple slices. Flipping with a spatula works best.
-
Combine dry ingredients - In a medium bowl sift together the flour and salt.
-
Combine all ingredients - In a large bowl combine the dry mix with the shortening and water. This step is easiest using the Kitchen Aid mixer again. I use the kneading mixer attachment but you can also so by hand.
-
Spray pie plate with non-stick spray.
-
Divide dough in half. Set one aside for crumble top.
-
Roll out into a circle (about 4 inches larger than the size of the pie plate).
-
Place in pie plate.
-
Pour apple filling into dough covered pie plate. Be sure to fill it evenly.
-
Use the last half of the dough ball to crumble and sprinkle over the entire pie top.
-
Place in oven and bake at 350°F for 1 hour or until top is lightly golden brown.
-
Remove and enjoy a slice with a scoop of vanilla bean ice cream!
Tip - Splash apples with a little lemon juice as you go. This will stop them from turning brown as they sit in the bowl.
Tip - If pealing, coring, and slicing by hand be very intentional about keeping your slices the same thickness. This will allow your filling to bake evenly and avoid any under baked apple slices making their way to your plate.
Tip - Flip dough over rolling pin to easily place in pie plate.
Tip - Place a baking sheet under the pie plate in the oven to catch any drips during baking.

I’m not a big apple pie person (I like the “gew” more than the apples lol! But I do love apple crisp!! This sounds delicious
Right! I’m a crust fan myself so I tend to pay extra attention to that :p
Yummm! I’d love to try this recipe.
Hi! Stopping by from Mom Bloggers Club. Great blog!
Have a nice day!
Hi Veronica!
Thanks for stopping by! Just love the Mom Bloggers Club <3