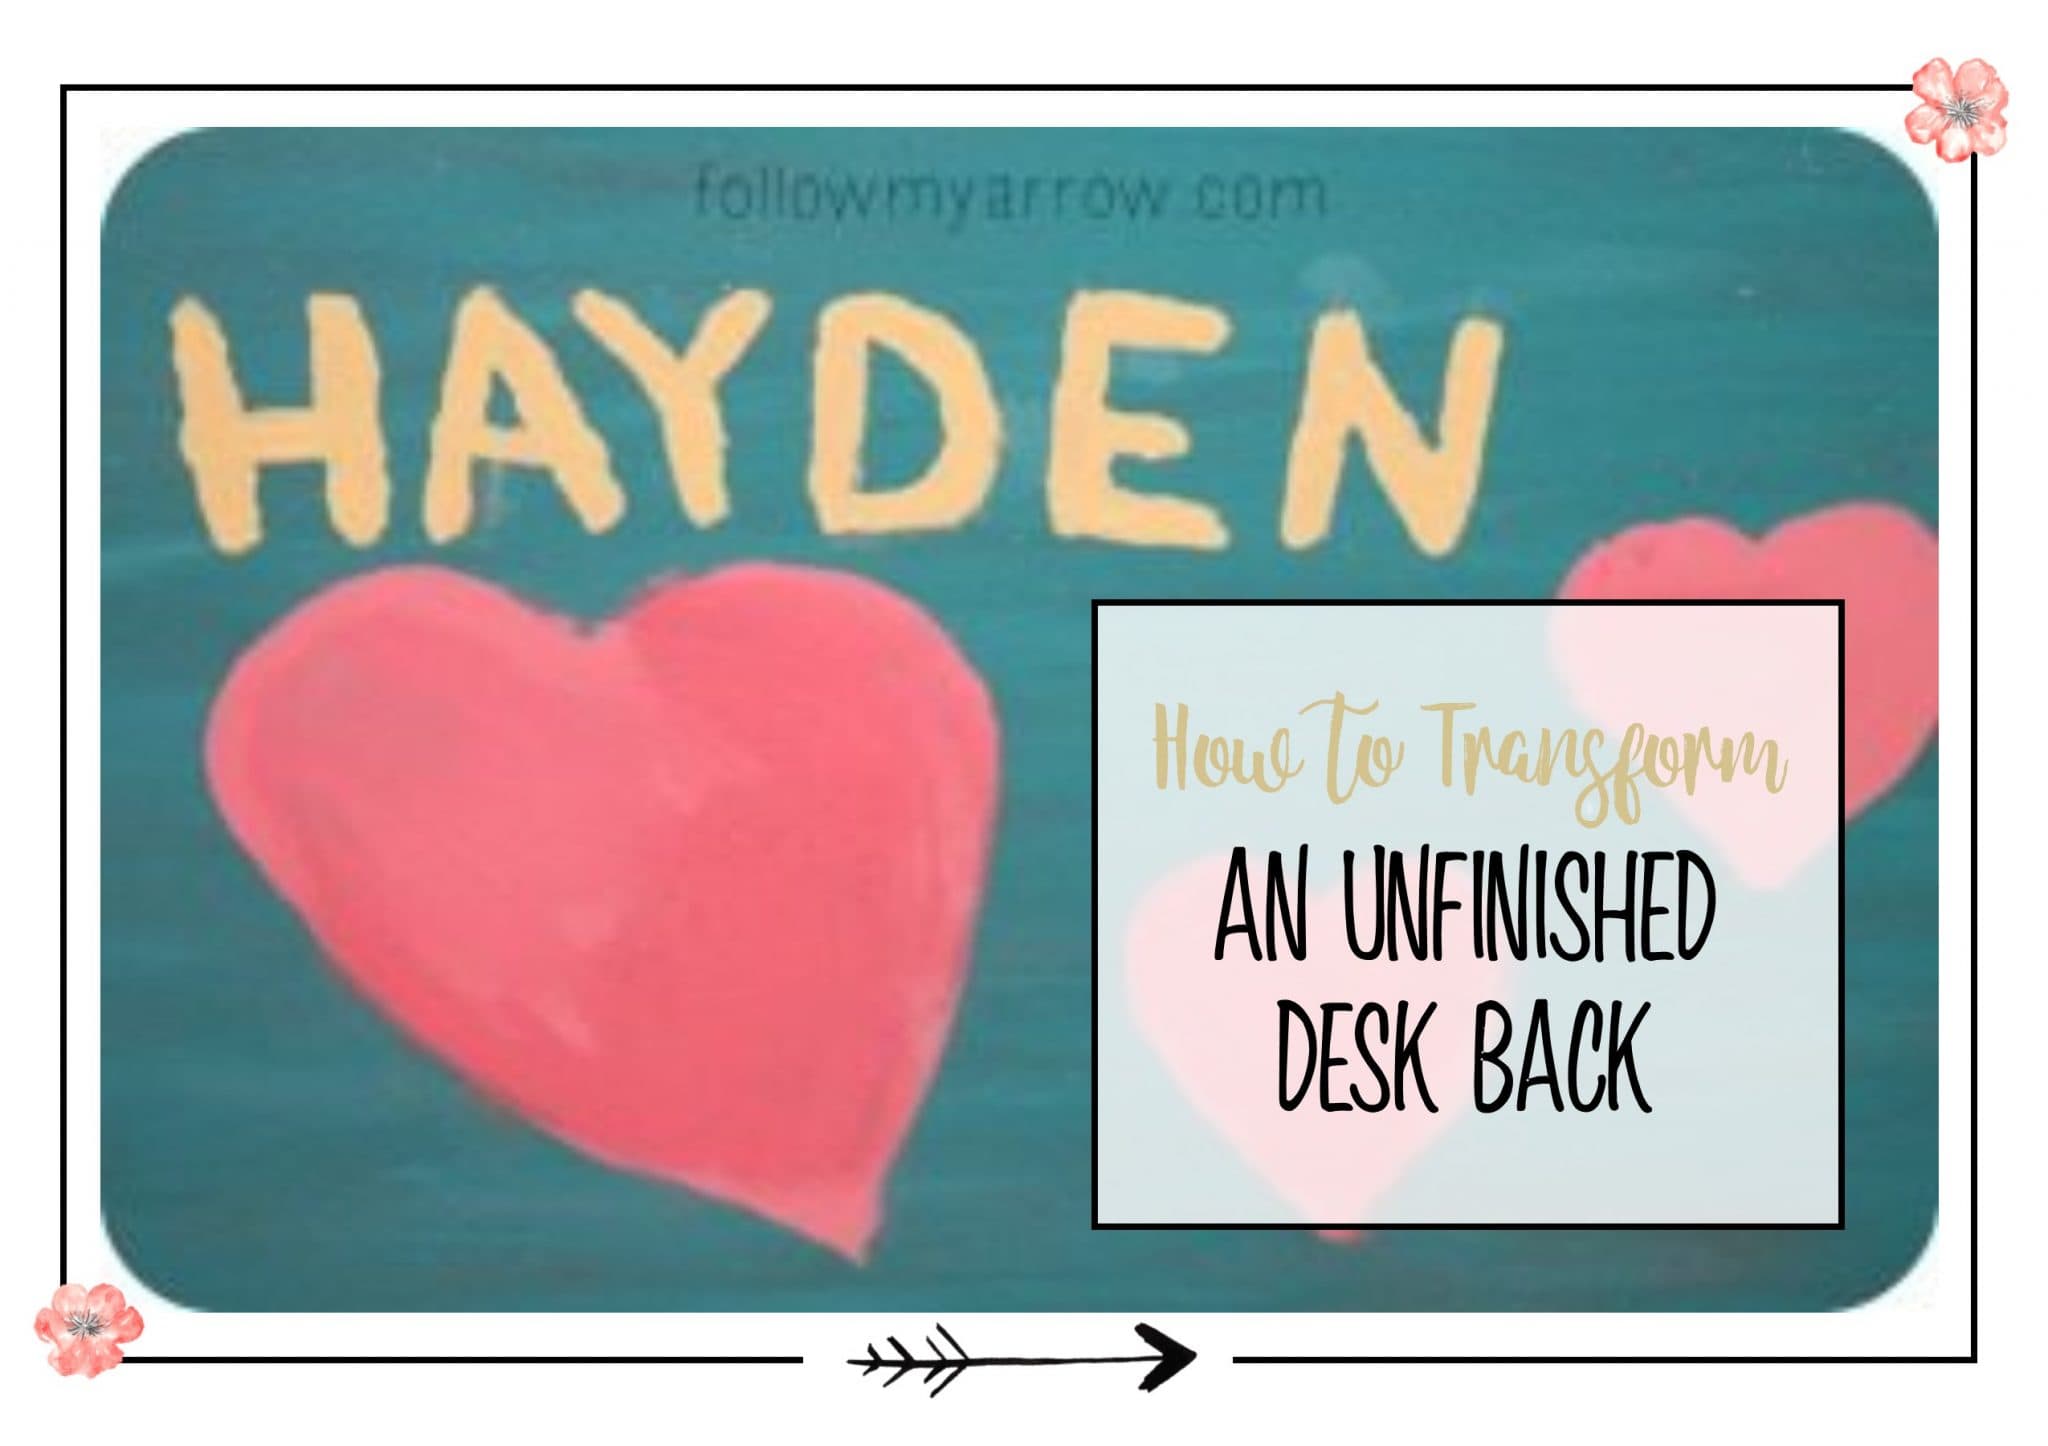
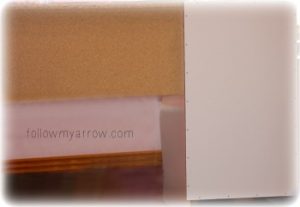
I have been so sick of seeing the unfinished back of my daughter’s desk! She loves to have it pulled away from the wall (I think it makes her feel more adult, LOL:). She usually plays “Office” or “School” with her friends so I thought why not make it look nicer and be more functional!? I looked at the material exposed that would need to be dealt with and paint was the most obvious choice as it is inexpensive and would adhere to all the different surfaces.
This post contains affiliate links. For more information please see my disclosures here.
What you’ll need:
- Unfinished desk of course!
- Paint (craft paint, spray paint, any paint really)
- Foam brushes (I used these because of the easy cleanup and no worry of bristles ending up in my masterpiece:)
- Painters tape
- Damp cloth
- Dry lent free towel
Here’s how I did it:
First, I gave the desk a good clean down with a damp cloth. After removing any dust and grime that might have been there, be sure to wipe any dampness away with a lint-free towel.
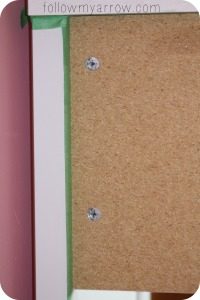
Next, I pulled out our craft paint stock. I had my daughter choose her colors which included black chalkboard paint for the vertical portion of the desk. We then tapped along all of the edges and any wear paint was not wanted. Tip: Place a piece of tape on the floor just slightly under the desk leg. This will save you from having to clean paint off the floor. We did try and use a drop cloth however it keep bunching up and was very cumbersome when trying to paint near the bottom of the desk.

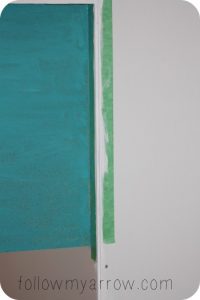
The main MDF board took multiple coats of paint as did the chalkboard. Patients is a virtue of this product;) Once the base color has completely dried the fun begins! My daughter decided to write her name and of course, and add hearts;) You could definitely use stencils or other technique to make it look more professional:) I had also thought about using leftover wallpaper or even doing a deco-podge technique. The sky’s the limit!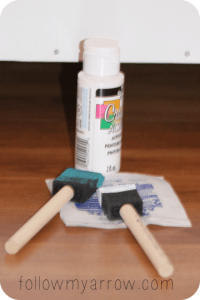
My last step after everything was completely dry (I let ours sit overnight just to be sure) was to apply some type of top coat to the artwork area (not the chalkboard!). I used a glitter based clear coat but any type will work. Once dry your “School” day begins!
I’ll share the finished product very soon as well as include some better photos. I’ll be honest, I got a little ahead of myself on posting this but was too excited to wait!