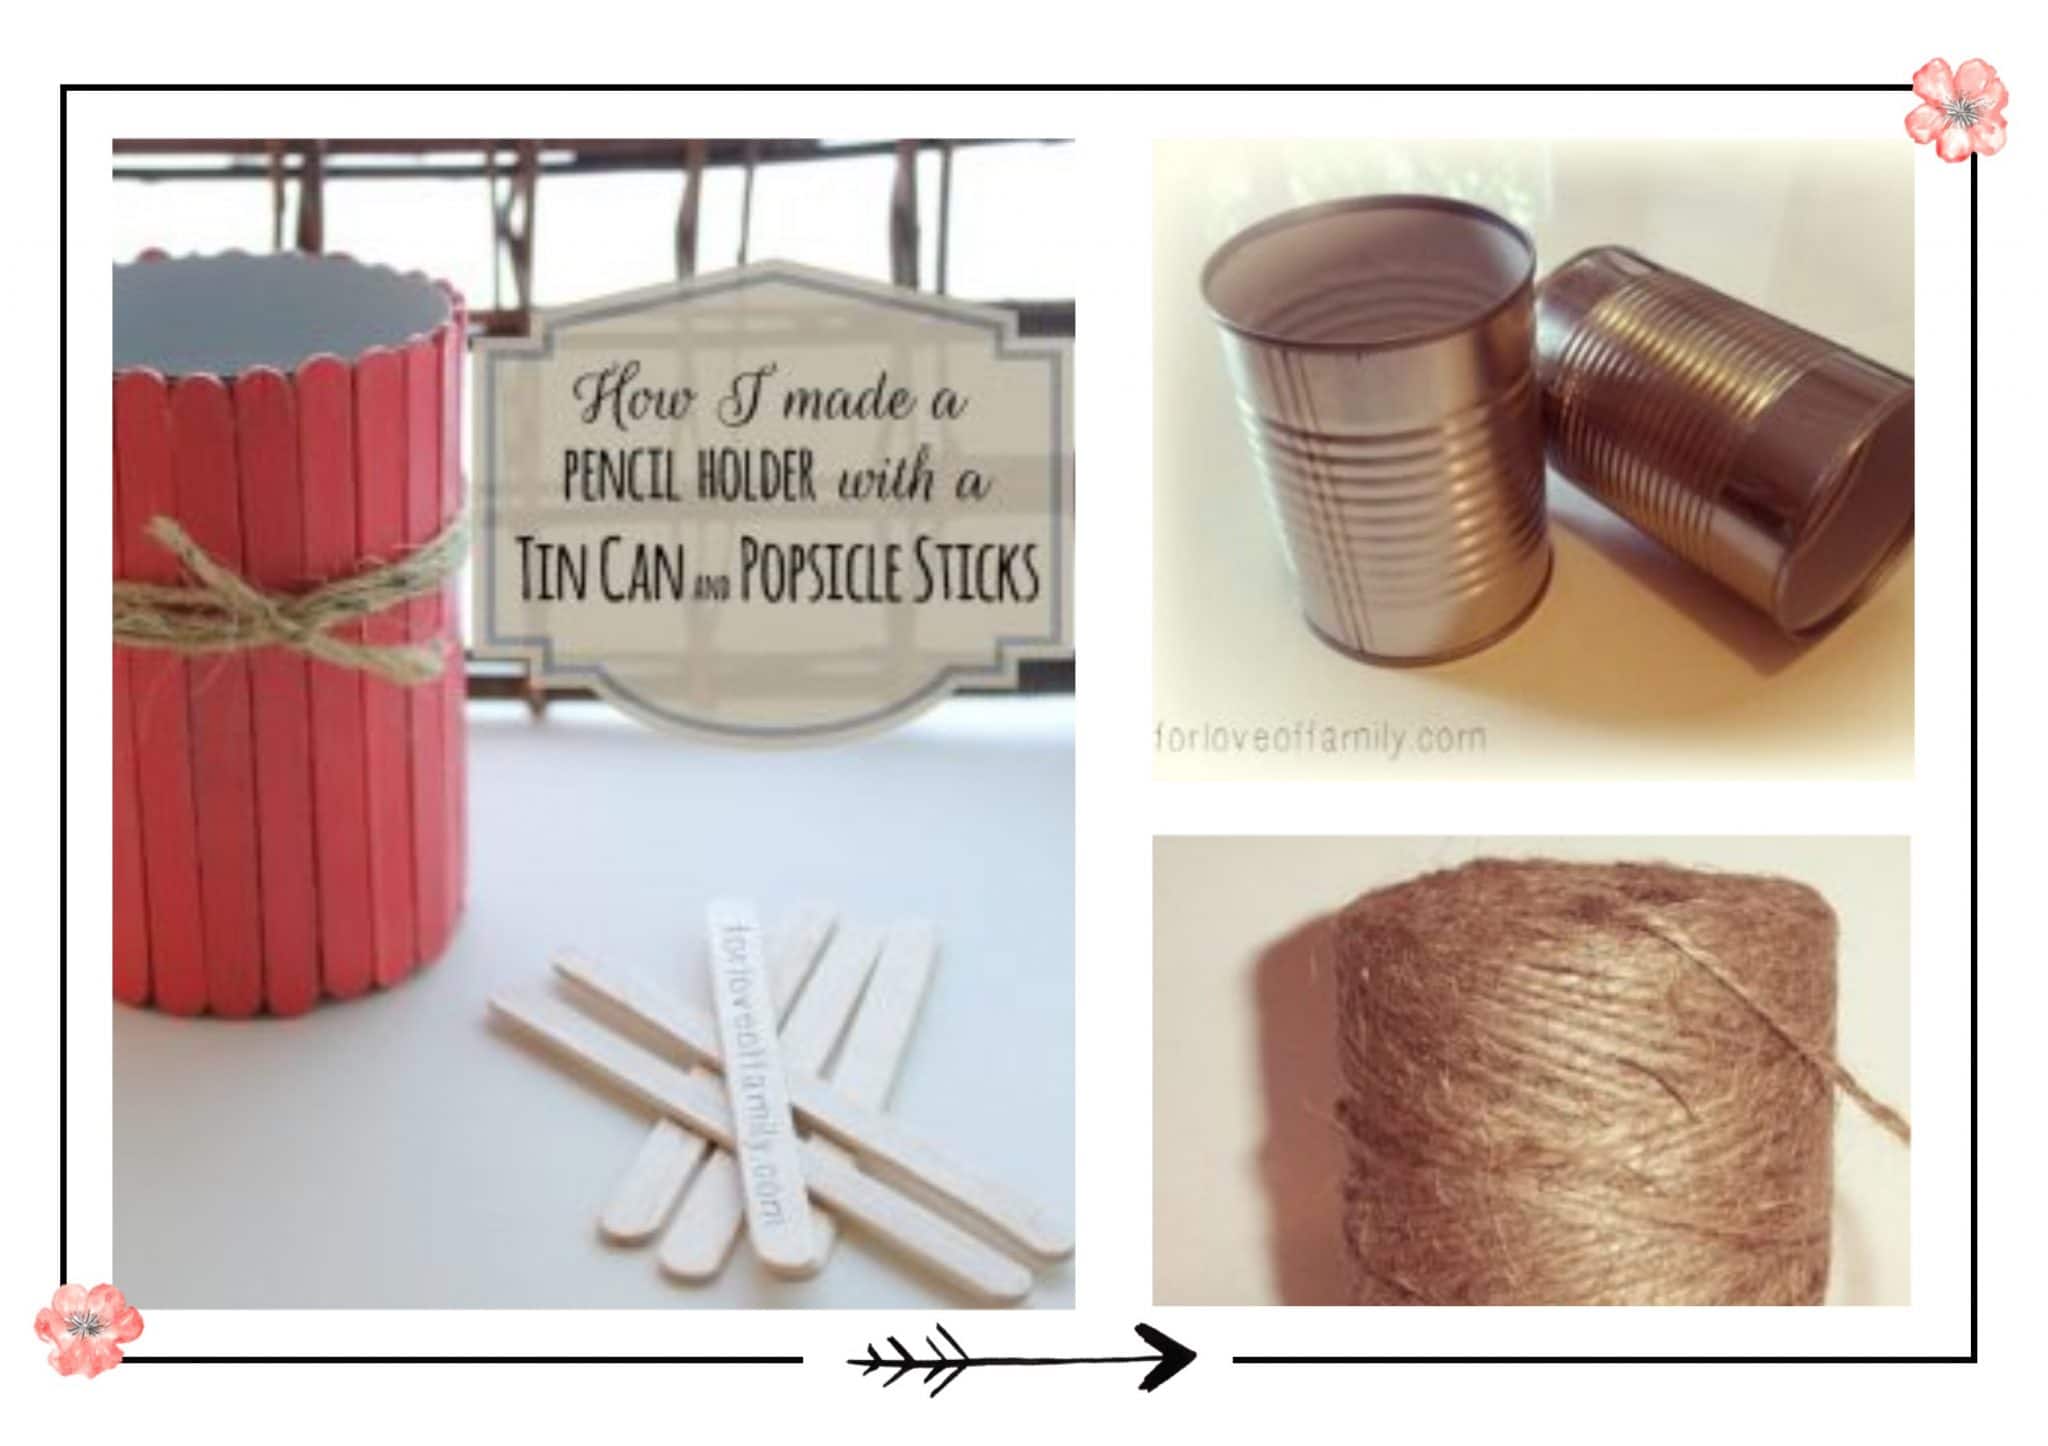
What to do with popsicle sticks and a tin can…
Project 1 in the “Tin Can” series
I love reusing and repurposing things around the home. I have a collection of tin cans, glass bottles, and many other random items I think I might find a use for someday. I’ve gotten to the point of knowing which can brands have a white-coated inside, which I’m sure to buy more of when I know a project is coming up or just feel like my stock is low;) Today I am sharing with you project one in my “Tin Can” series!
What you will need for this Popsicle stick project:
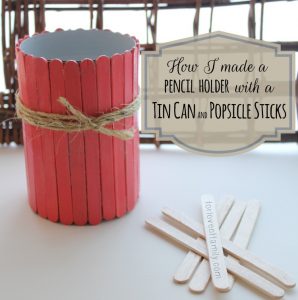
- Tin can(s)
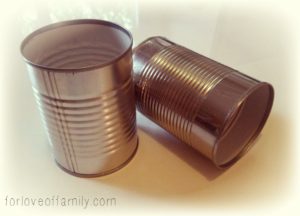
- Popsicle sticks (I always get mine from the dollar store)
- Paint, markers, crayons, anything to color the sticks. Secret: I use old or un-liked nail polishes. I hate to waste and they offer great coverage!
- Hot glue gun
Tips:
- You can spray-paint the inside of your can if you choose. I usually use the cans that are already white-coated inside however, any will work.
- I also try to have my sticks painted the day before so they are dry and ready to go. If you do use nail polish it dries very fast and 30 to 45 minutes to dry before is all you need.
- If you decide to use markers, I recommend a clear coat to seal them. You can use clear spray paint or clear nail polish.
- I sometimes use a sparkle nail polish with a clear base for some added glitz!
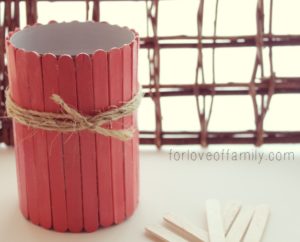
Make sure the sticks are the same length as the can you are using. If they are too long, a razor blade or pair of scissors can be used to shorten them and a quick sanding with very fine sandpaper.
Now, simply youse the hot glue gun to attach one stick at a time.
(I don’t recommend doing more because of the fast drying time)
~Be sure to put the sticks as tight together as you can for best results~
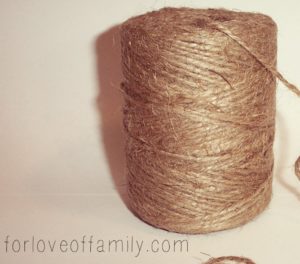
Once all the sticks have been glued on I wrap them with a decorative ribbon to finish it off. I used twine here. You can get creative with your embellishments to make it uniquely yours! Most importantly, have fun and let your creative juices flow!

How fun!!! Great idea, Jessica! thanks for the tips.